Tools, check. Supplies, check. Now on to the nitty-gritty of actually replacing the cables.
FRONT BRAKE CABLE REPLACEMENT
Let’s start with the front brake, since that’s the easiest as it’s a fully external run. If you run a front fender like I do, start off by removing that.

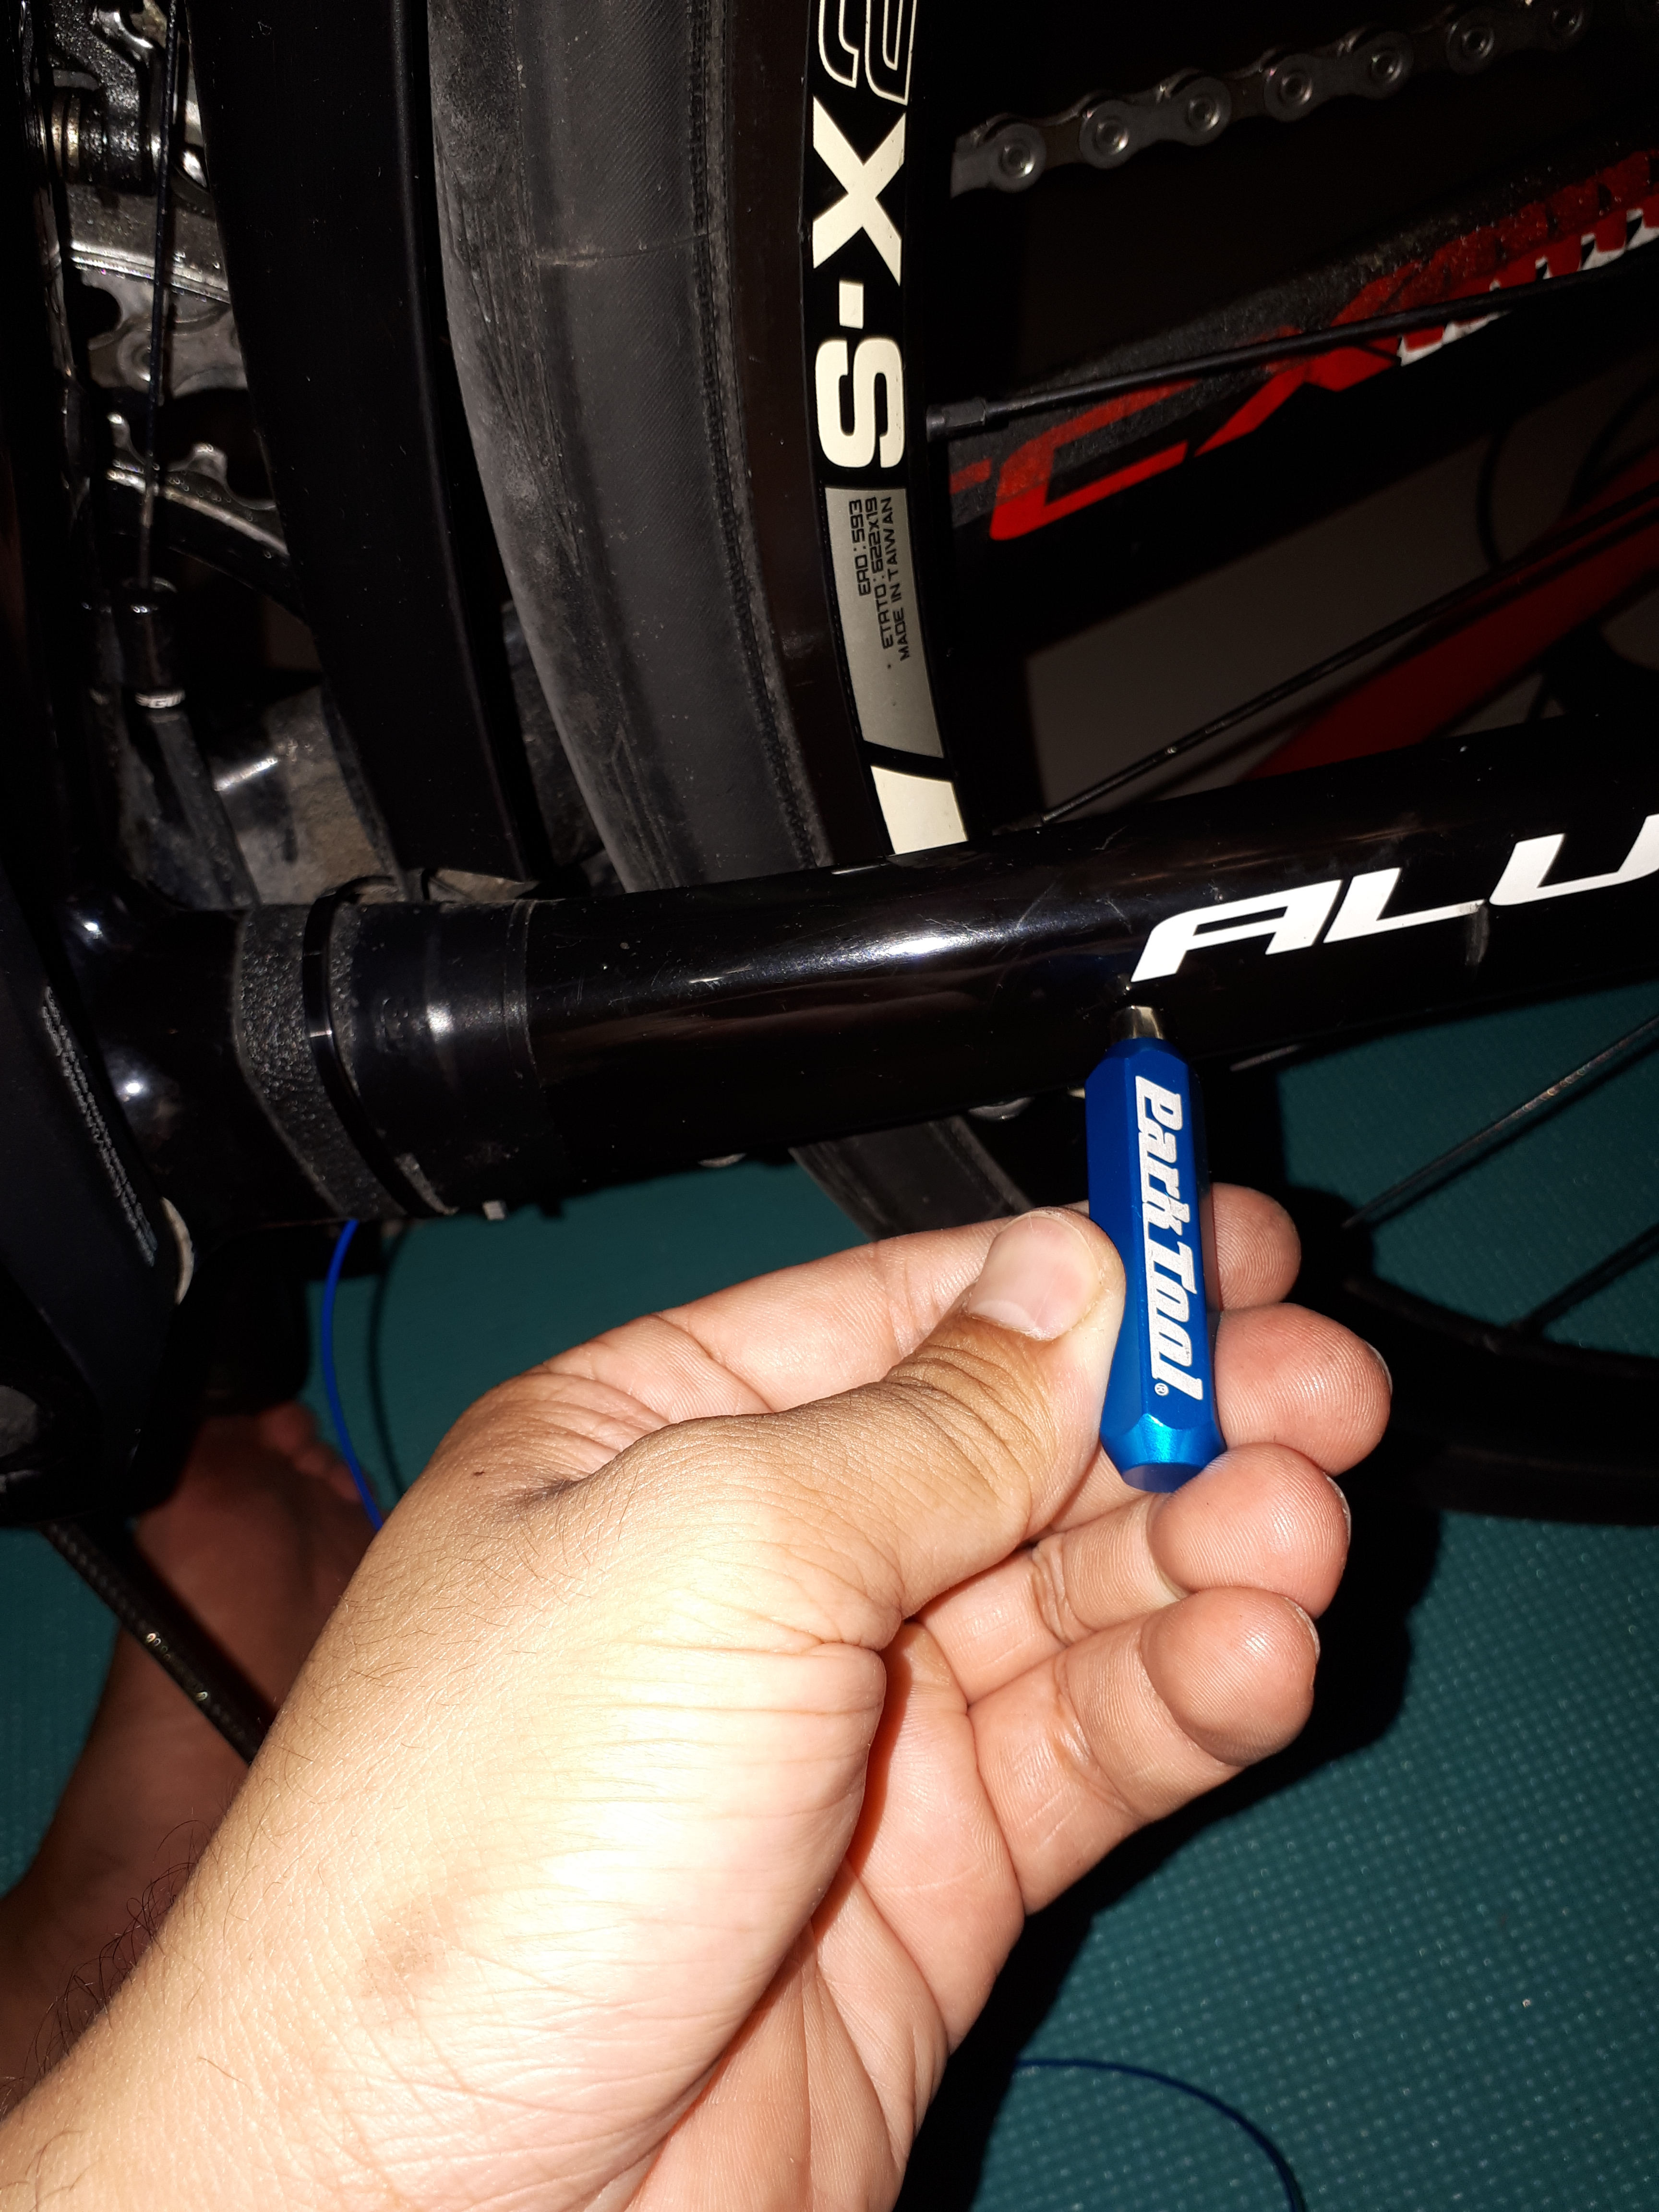
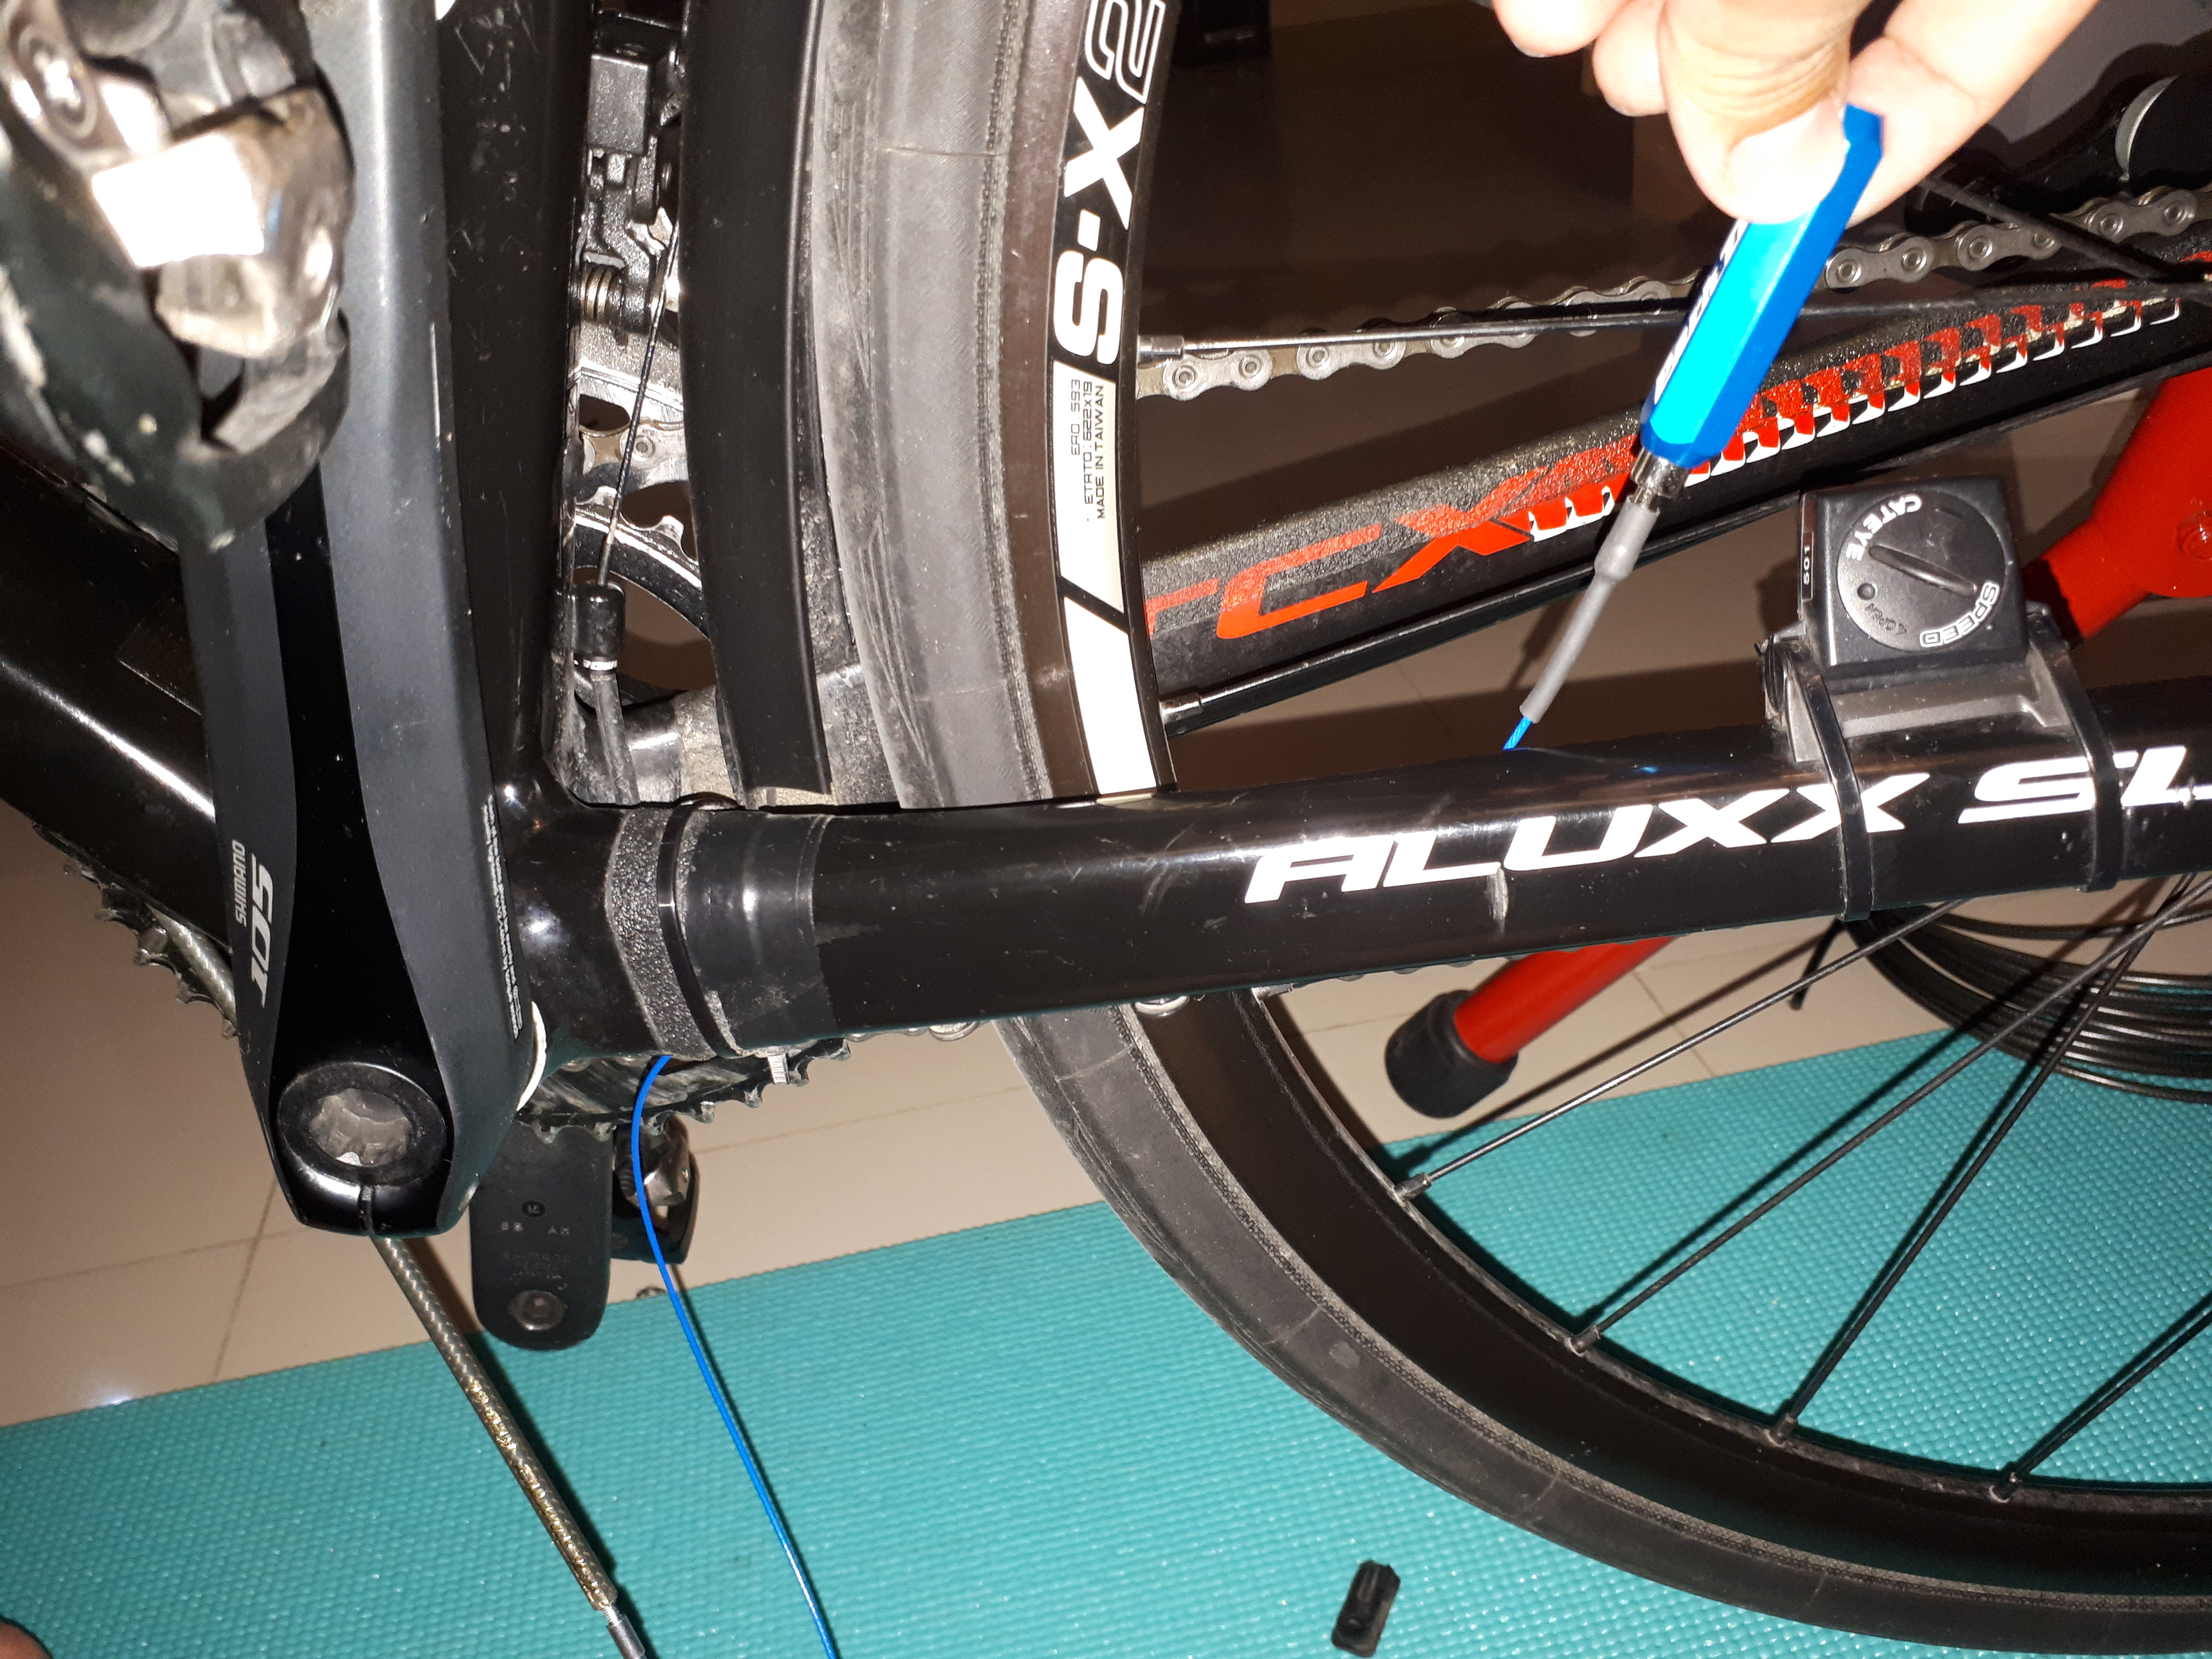
Giant uses a plastic retaining clip to keep the front brake cable out of the way, held in place on the underside of the fork by a small 3 mm hex bolt. Undo that and set it aside.

Remove the bar tape, and clean off any adhesive residue from the handlebar with a wipedown of isopropyl alcohol. Cut open and remove the electrical tape holding the cables fast to the handlebar.

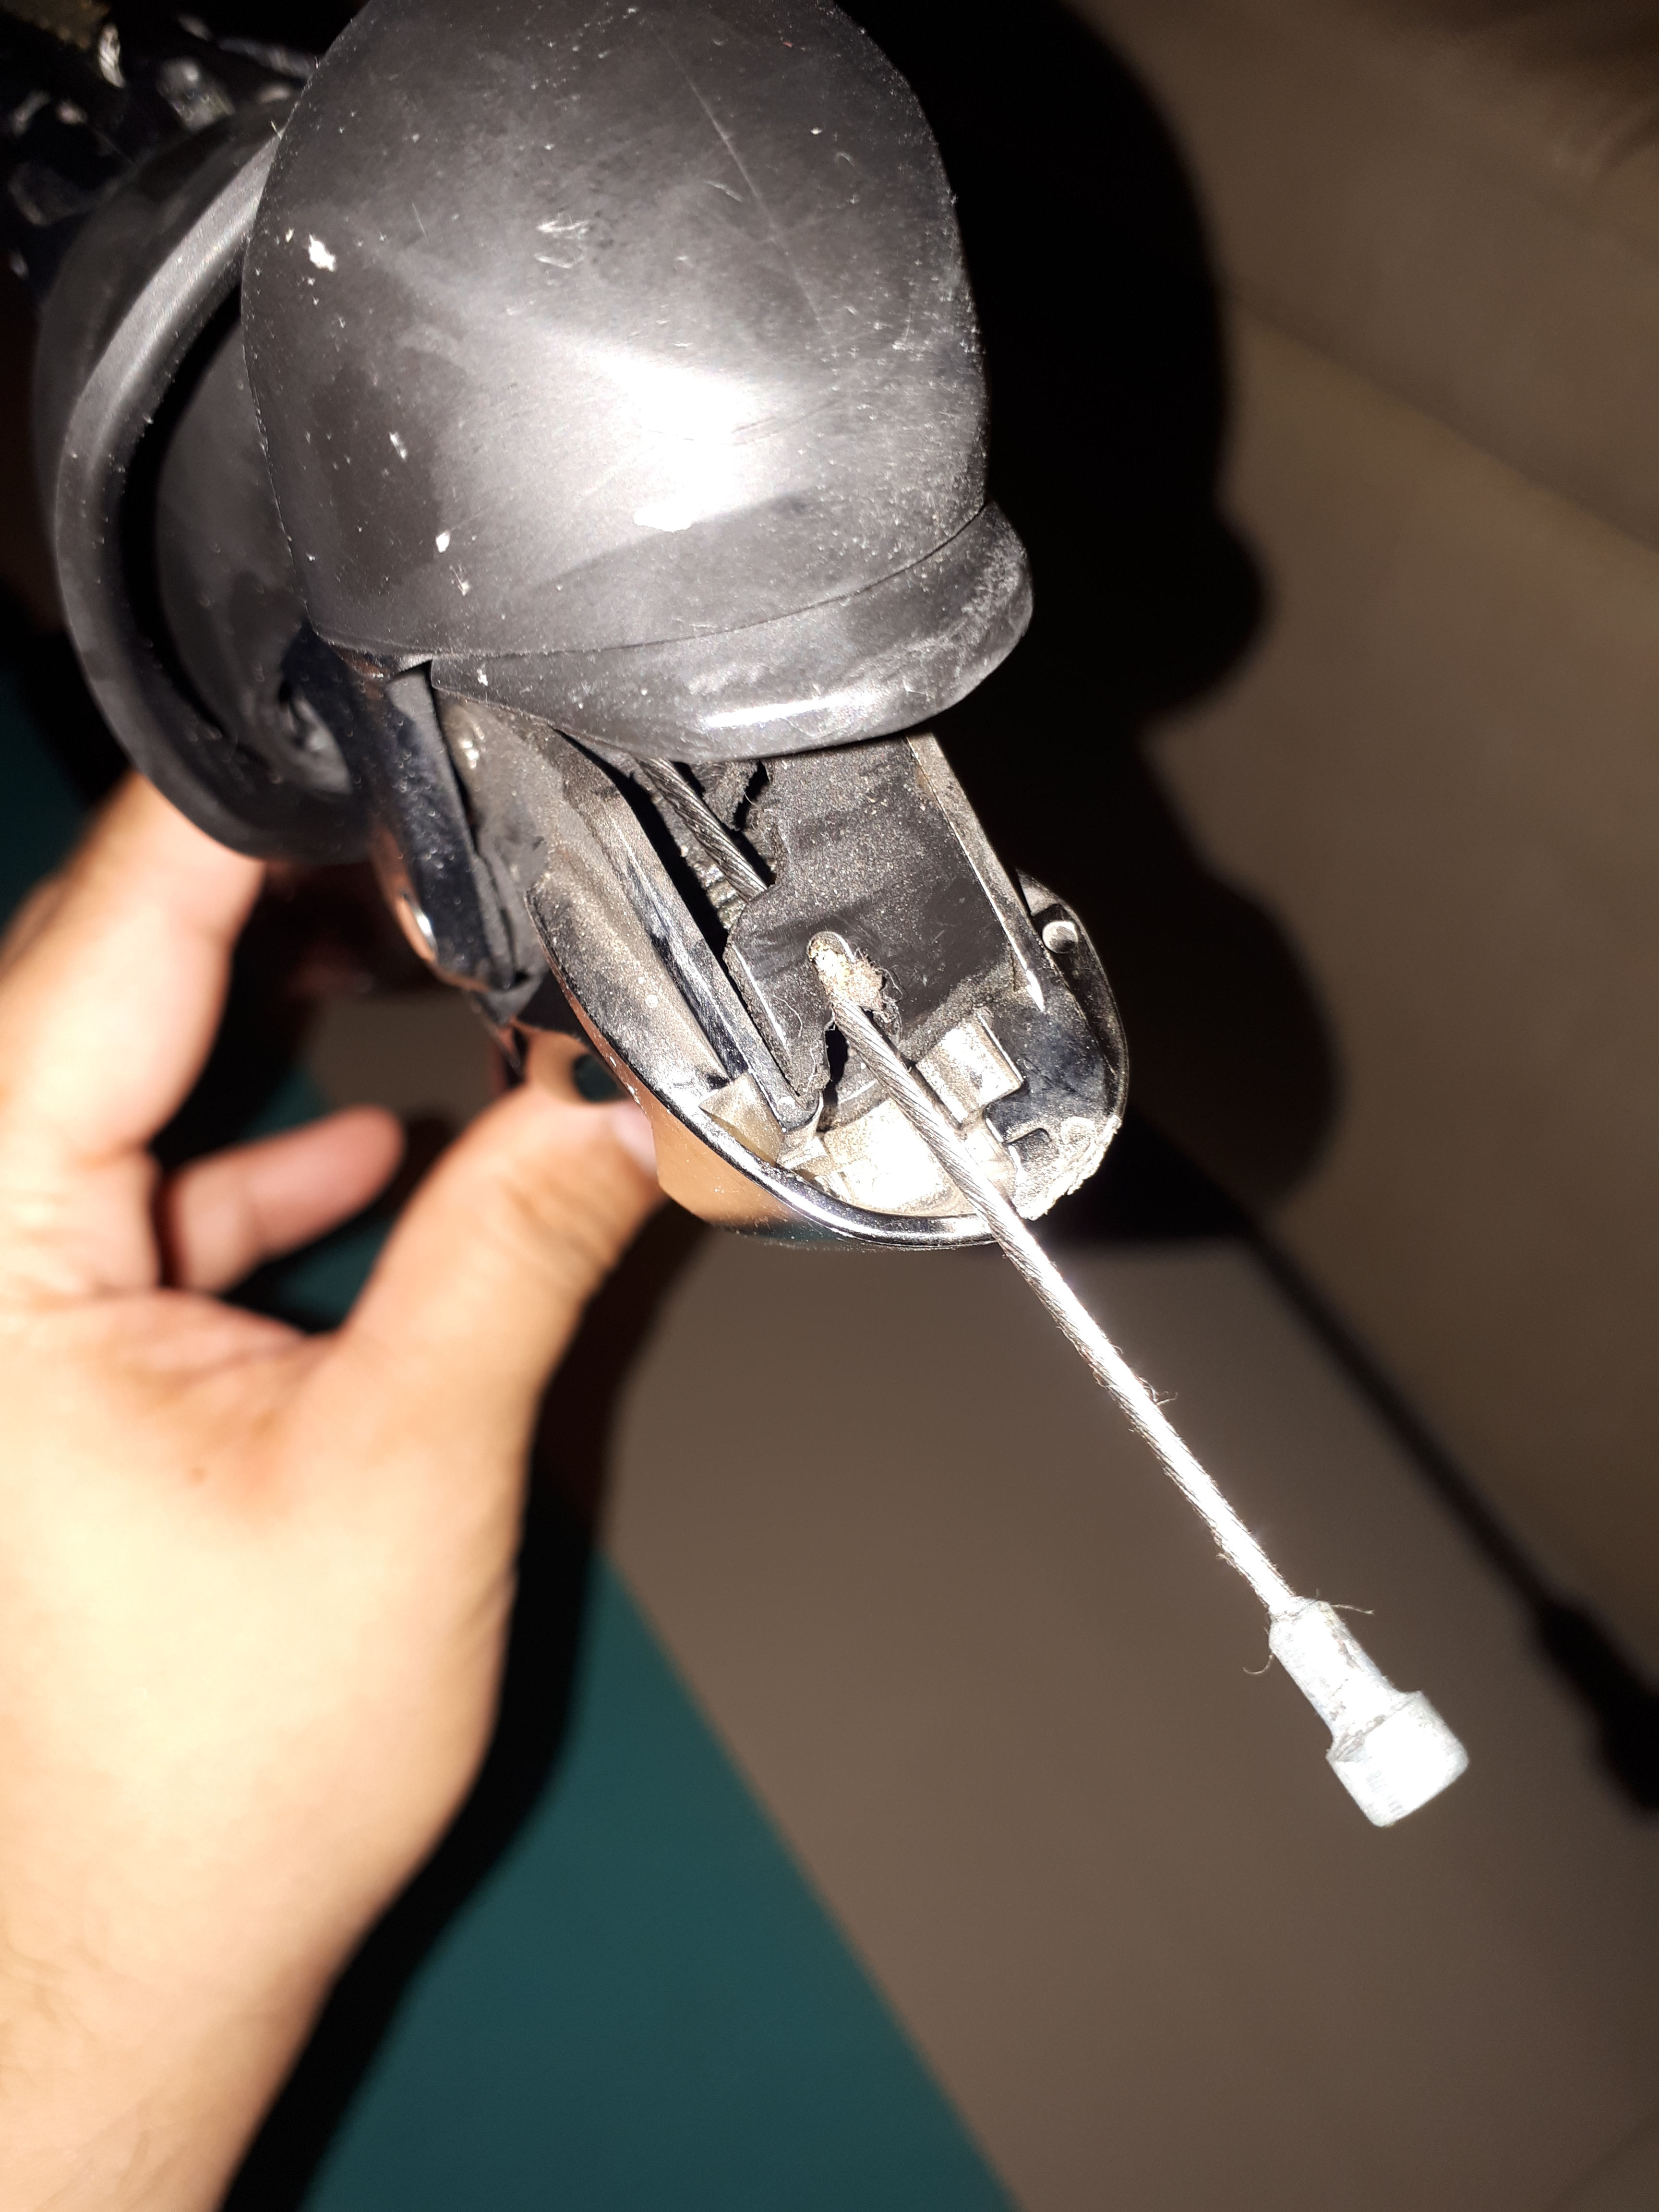
On the Spyre brake caliper, snip off the cable end cap, then undo the clamp bolt. On the Shimano 105 ST-5700 STI lever, pull the brake lever, work the brake inner cable head out of its seat, then pull it straight out.

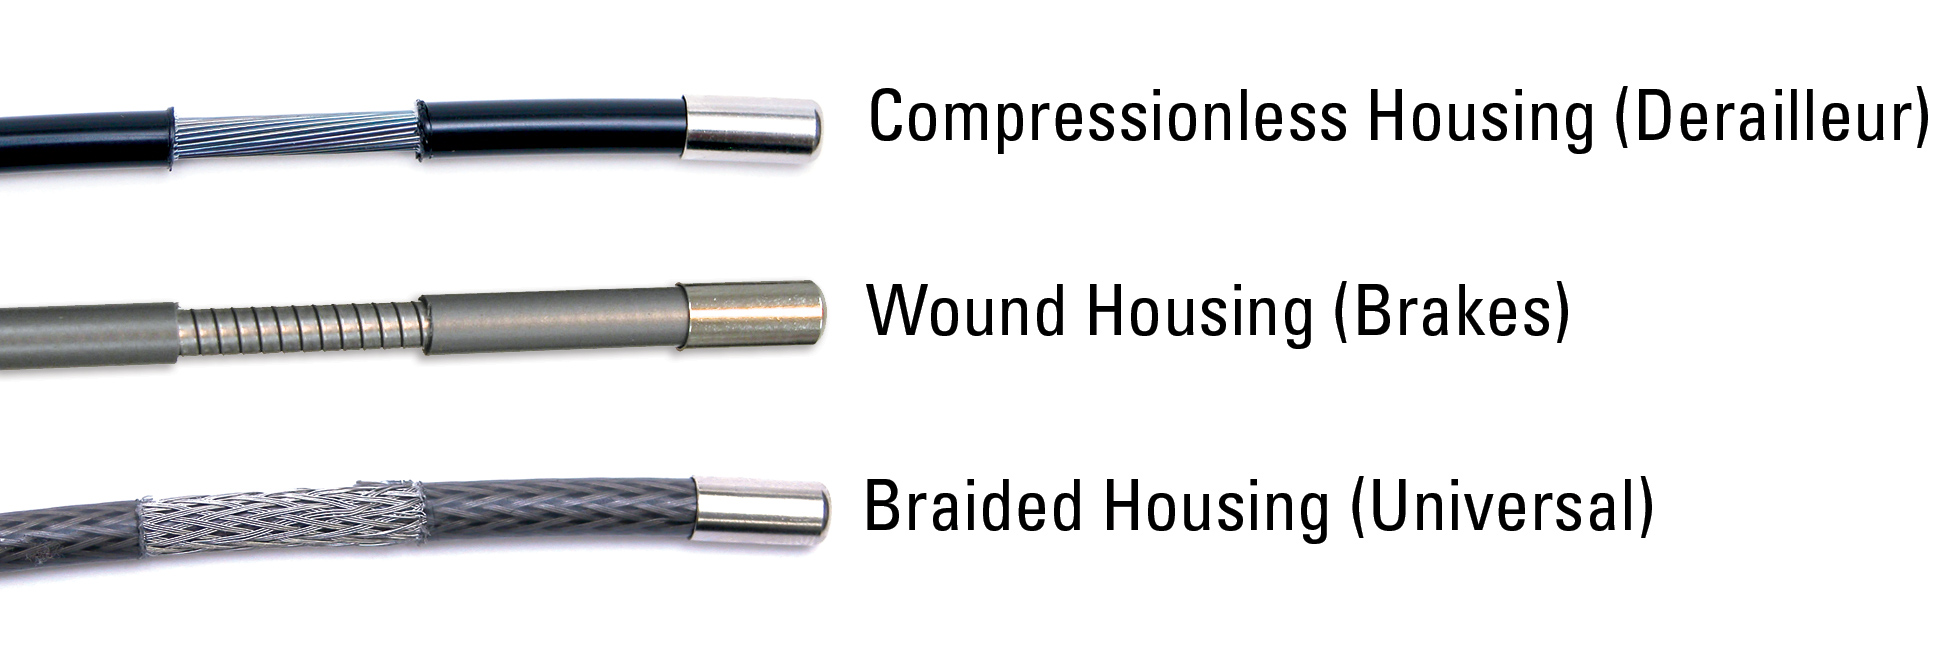
With the inner cable out, it’s just a matter of undoing the front brake cable housing. On my bike, this is also the only segment of housing that doesn’t have an in-line barrel adjuster, making replacement straightforward.

Lay out old housing against new, and use it as a guide for measuring the proper length.


5 mm brake ferrule. Jagwire’s POP ferrules have an additional piece that goes between this and the cable housing end.
Cut the new housing. Because the end can get a little squished by the cable cutters, I like to round out the liner of the freshly cut end so the brake inner cable can enter smoothly. Once done, cap one end with a 5 mm brake ferrule; this end goes into the brake caliper. (Jagwire includes a pack of two-part “POP” brake ferrules with their compressionless brake housings.) The other end with no ferrule goes into the 105 STI lever.

At this point, you’ll want to have the fresh brake inner cable ready. Shimano’s retail brake cable kits include enough brake inner cable and spiral-wound housing for one front brake (the shorter one) and one rear brake (the longer one), plus two chromed ferrules and end caps. As Hyro has TRP Spyre calipers, we’re not interested in Shimano’s brake housing; all we need are the brake inner cables and end caps.


With the front brake cable housing hooked up, thread the new brake inner cable through the STI lever the same way it came out. Push it in and pull it through until it is fully seated.


At the front brake caliper, wind in the barrel adjuster all the way by turning clockwise, then back it out two full turns to leave some room for adjustment. Pull tight on the brake inner cable, pre-load the actuator arm, then tighten the cable clamp bolt. Put the cable end cap on to keep it from fraying and injuring others.
Job done.
REAR BRAKE CABLE REPLACEMENT
Compared to the front brake, cable replacement for the rear brake is more involved. The cable enters on the left side of the downtube, reemerging at the bottom bracket shell and going around it, then finally threading through the left chainstay, where it pops out just in front of the rear brake caliper. In addition, there are four rubber grommets that the brake cable housing runs through as it pops in and out of the frame tubes while bridging STI lever and brake caliper.
I highly recommend the Park Tool IR-1 internal cable routing kit for this job. Some patience is also required, as the compressionless brake housing’s reluctance to bend can make clearing the entry and exit holes a bit of a challenge.

We start the same way as before: Undo the cable clamp bolt at the rear Spyre brake caliper, remove the cable end cap, then remove the rear brake inner cable clear of the bike by pulling it out of the STI lever. From here on out, we’re mostly concerned with the brake cable housing and getting it to where it should be.


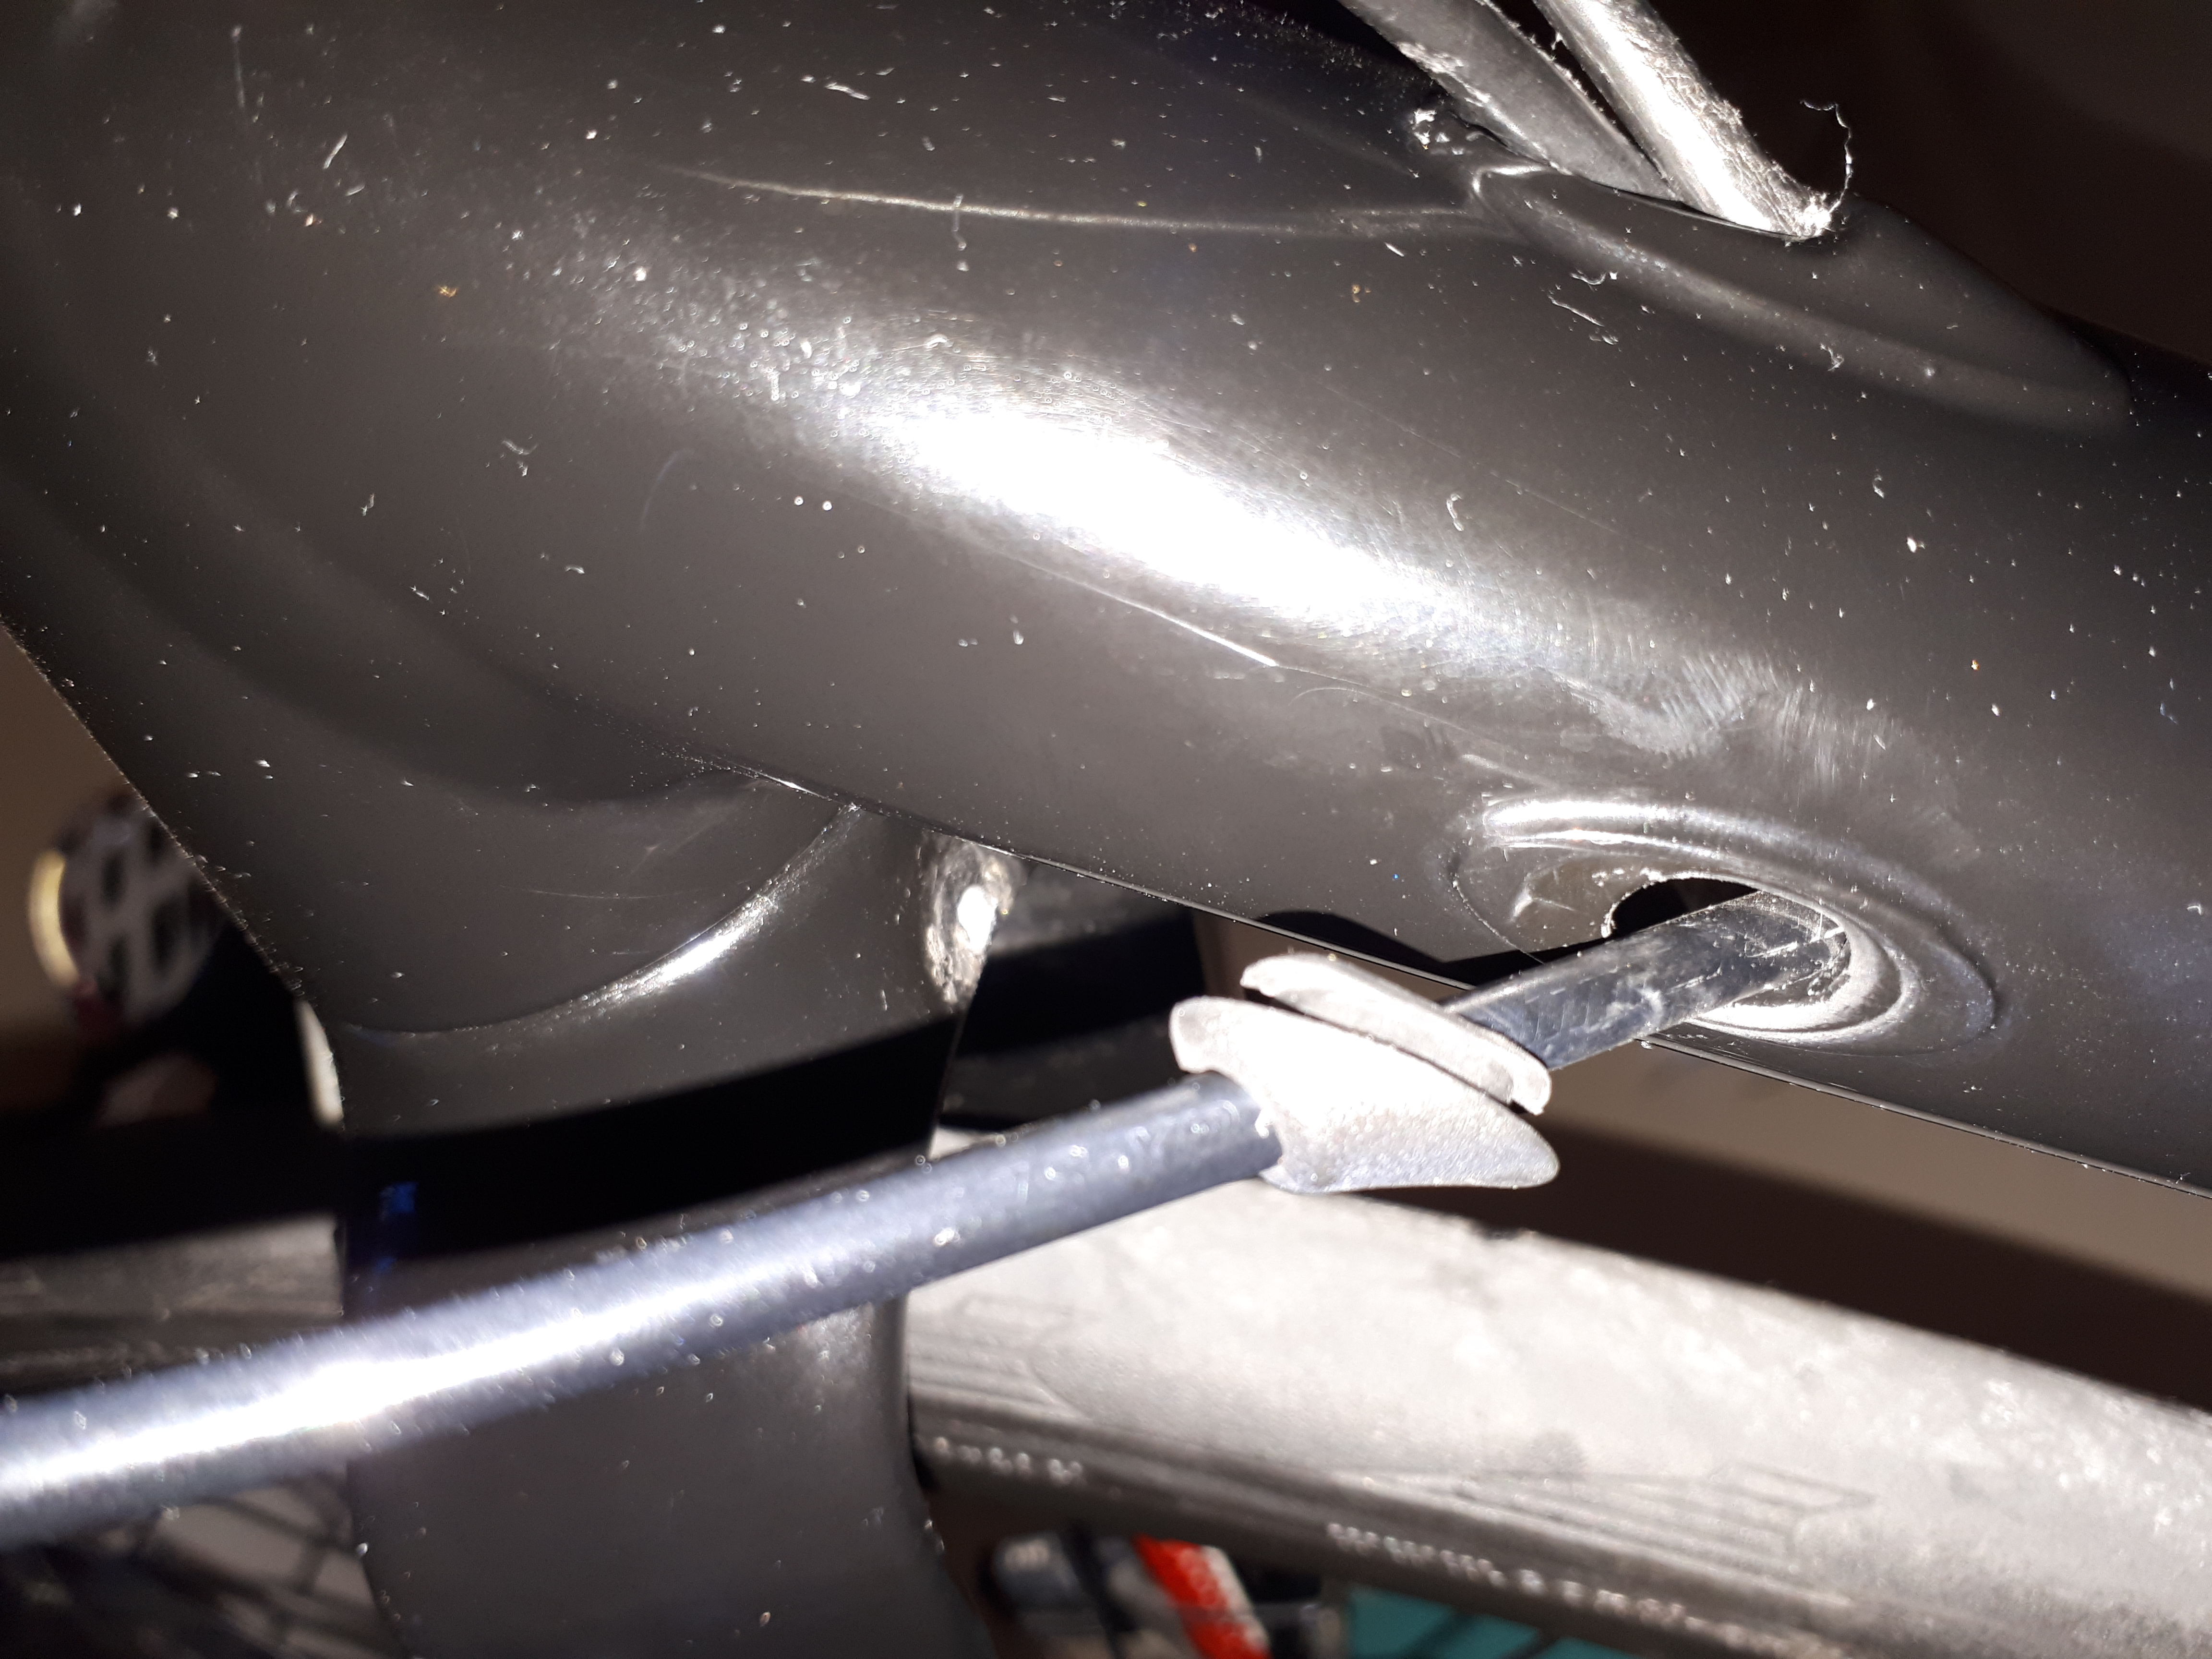
First we will have to take care of the four rubber grommets along the run of brake cable housing. Two of them are rectangular, and have to be pried open and away from the frame, either by finger or with a flat head screwdriver. One lives on the inside of the left chainstay in front of the caliper, and the other lives underneath the downtube. On these rectangular grommets, the cable housing has to be threaded through them.


The brake cable here is in the foreground. The other length of housing in the background, closer to the chainrings, is for the rear derailleur.
The other type of rubber grommet is oval. The underside is in two halves, so the grommet basically wraps around the cable housing while being held in place by the relevant routing holes in the frame. These are on the left of the downtube and on the underside of the left chainstay, near the bottom bracket shell. Once they’re off the routing holes, they can be detached from the housing.

Two lengths of old compressionless brake housing interrupted by an in-line barrel adjuster.
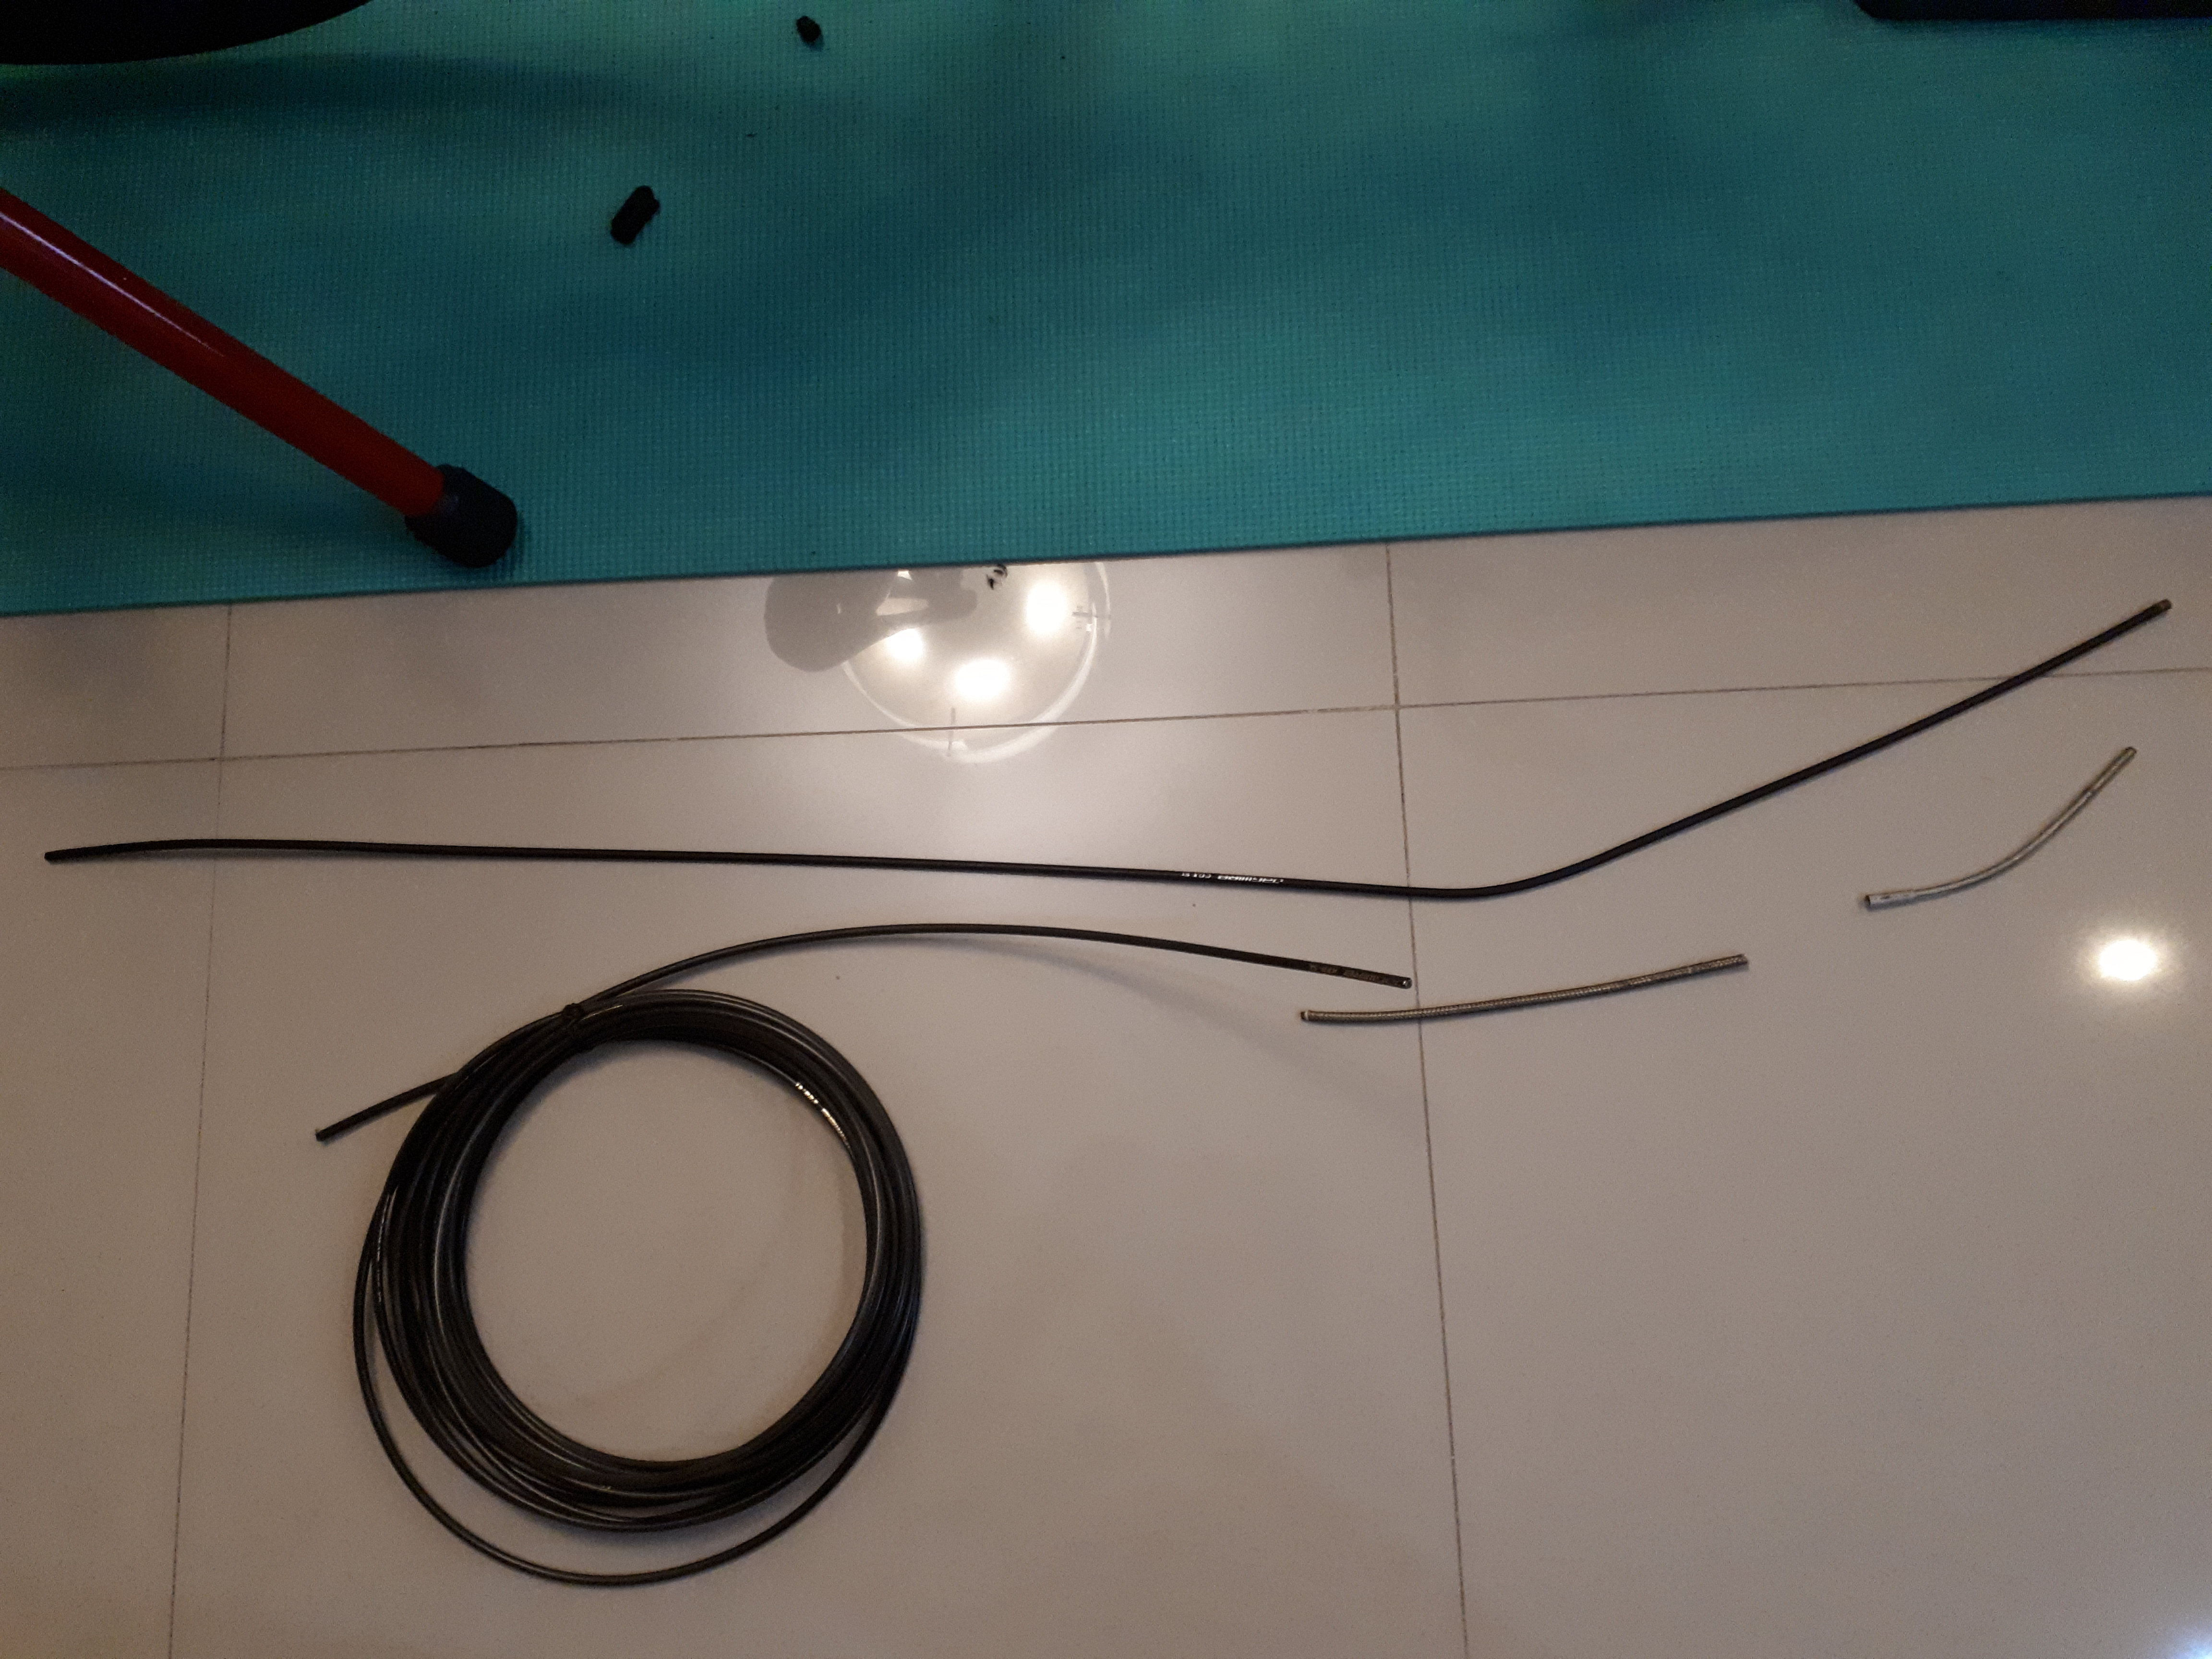
Once all the grommets are off and the old brake cable housings pulled from the frame, here’s what you get. That long piece is an uninterrupted run from brake caliper through chainstay and downtube, all the way to the in-line barrel adjuster.
The two shorter pieces on the right run from the barrel adjuster to the STI lever, and technically can be replaced by one single piece of compressionless brake housing. The silvery piece is from an old Jagwire cable kit, called an “EZ-Bend” housing segment. It acts as an extra-long brake ferrule and handles the cable run underneath the bar tape.
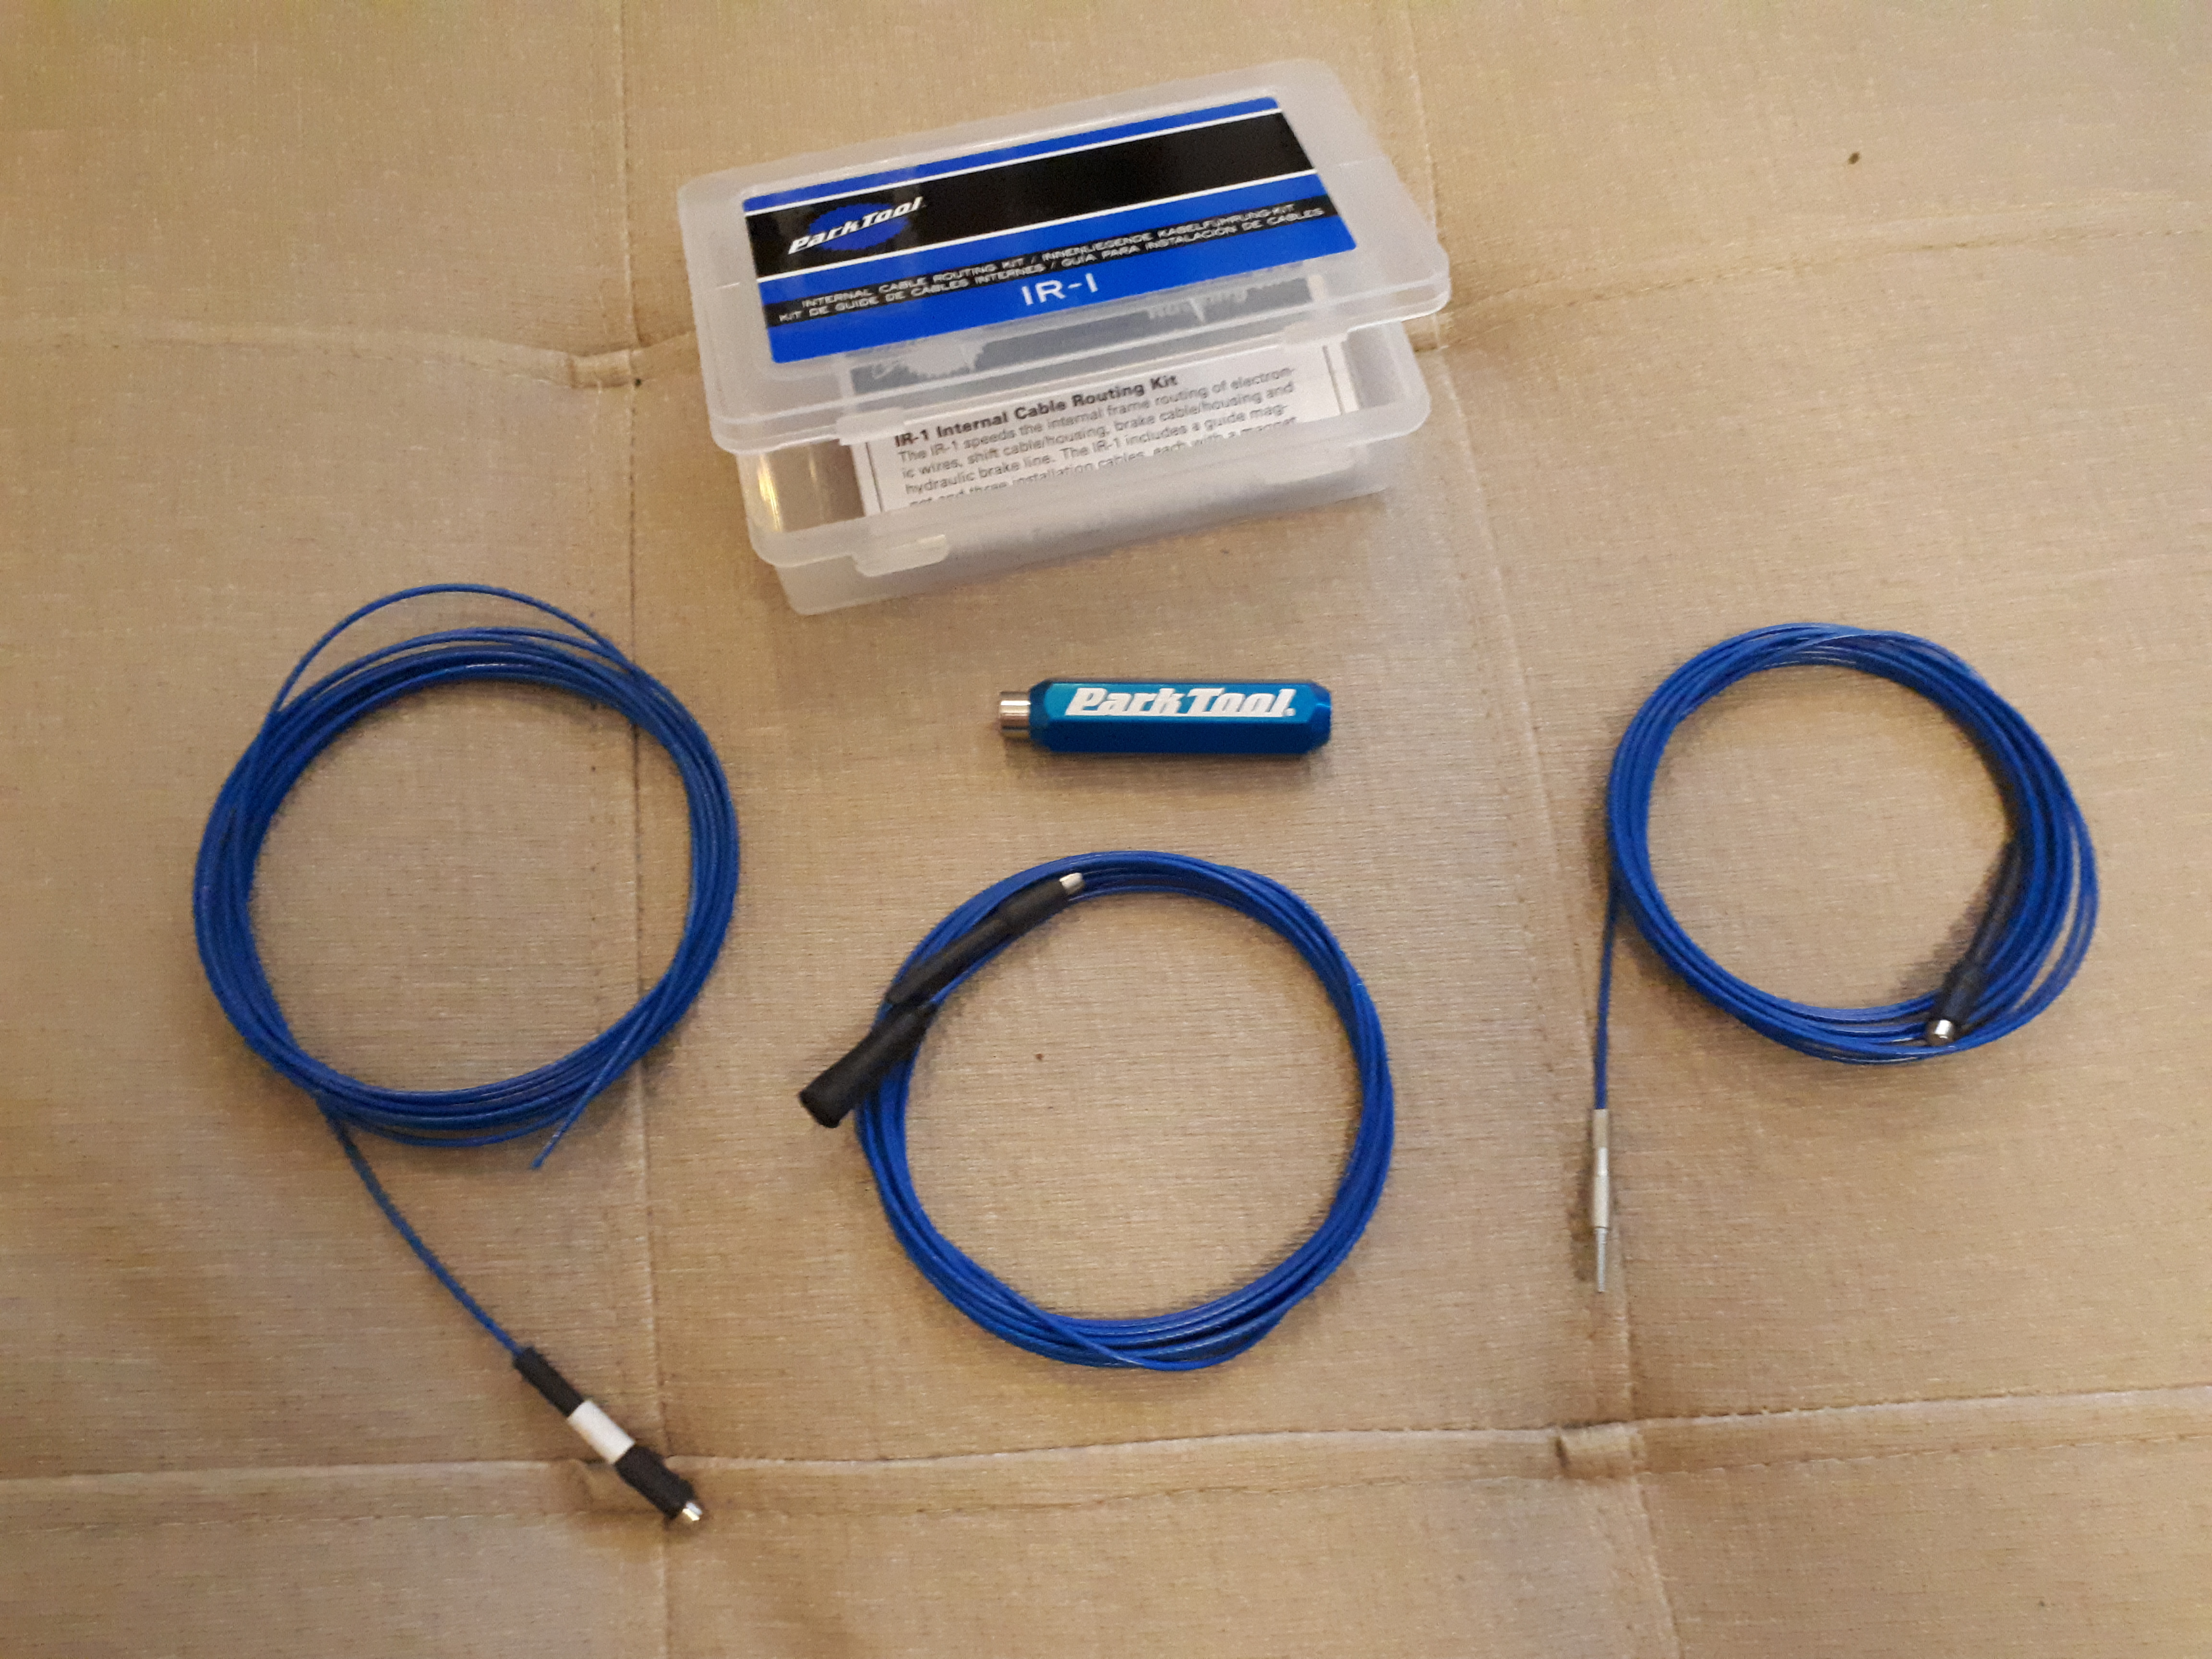
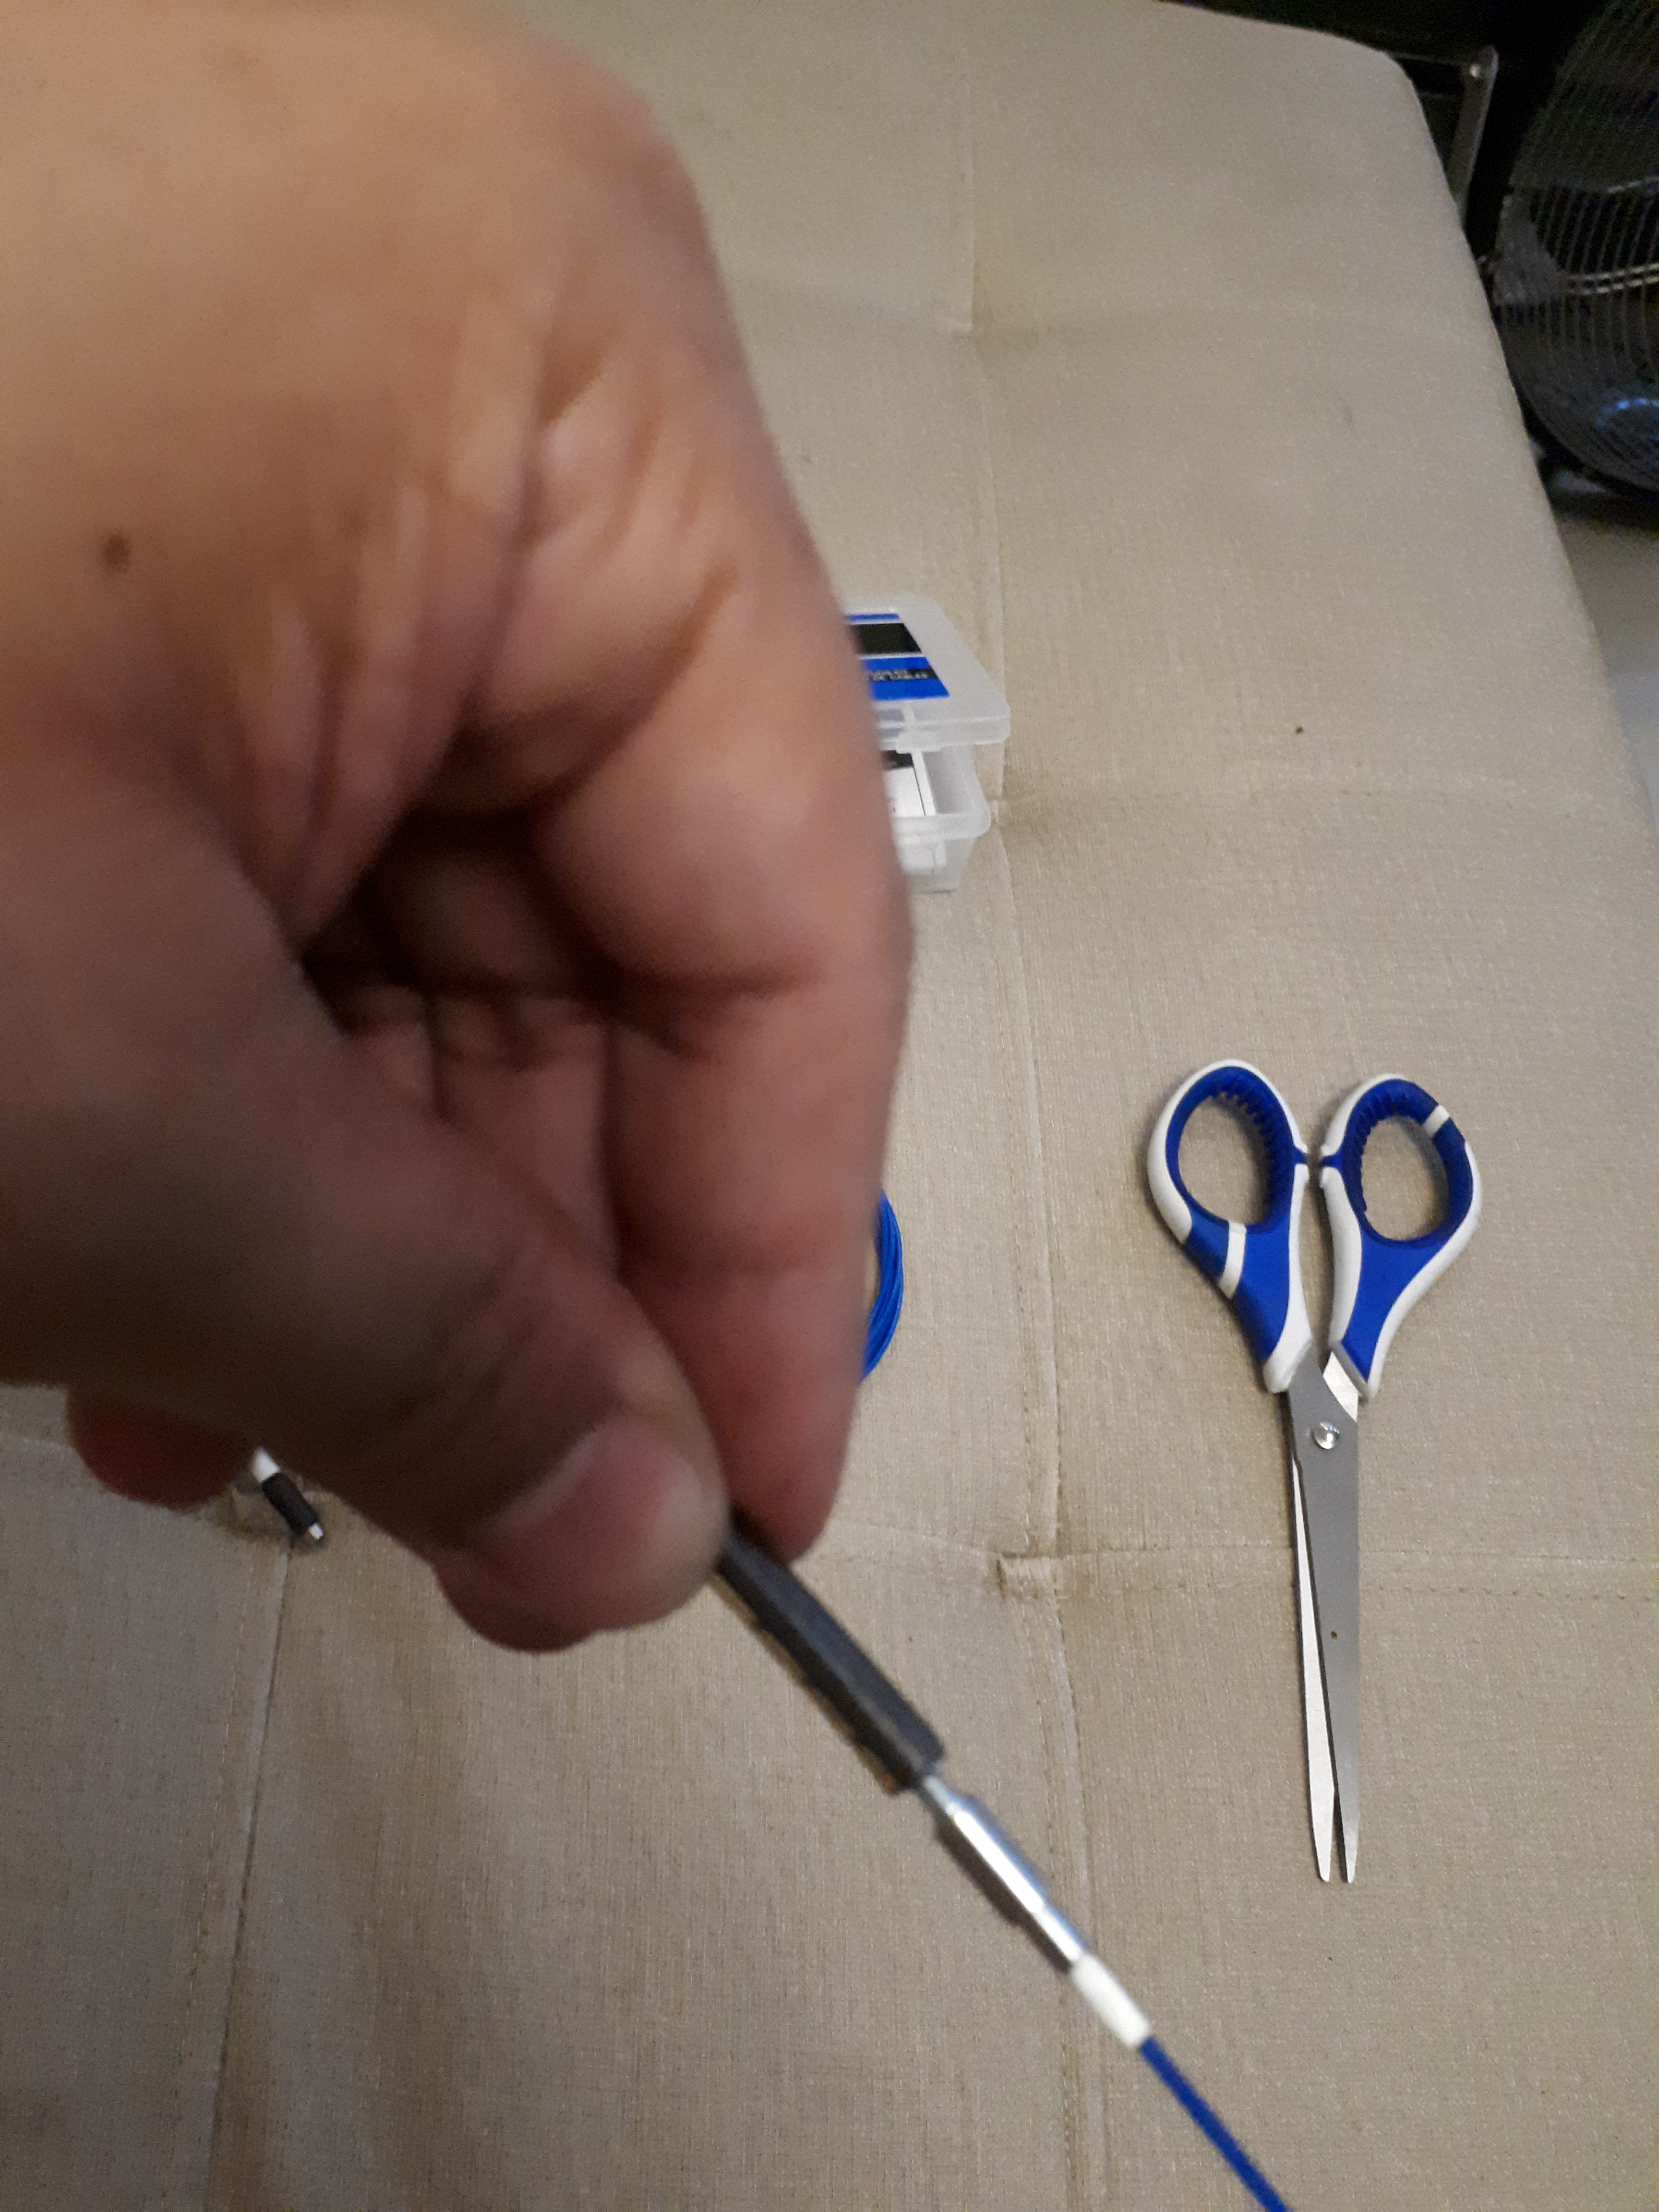
At this point, we break out the IR-1. Of its three guide cables, we’ll need the one with the threaded barb, which we screw into the end of the cable housing. Screw it in as far as it will go.

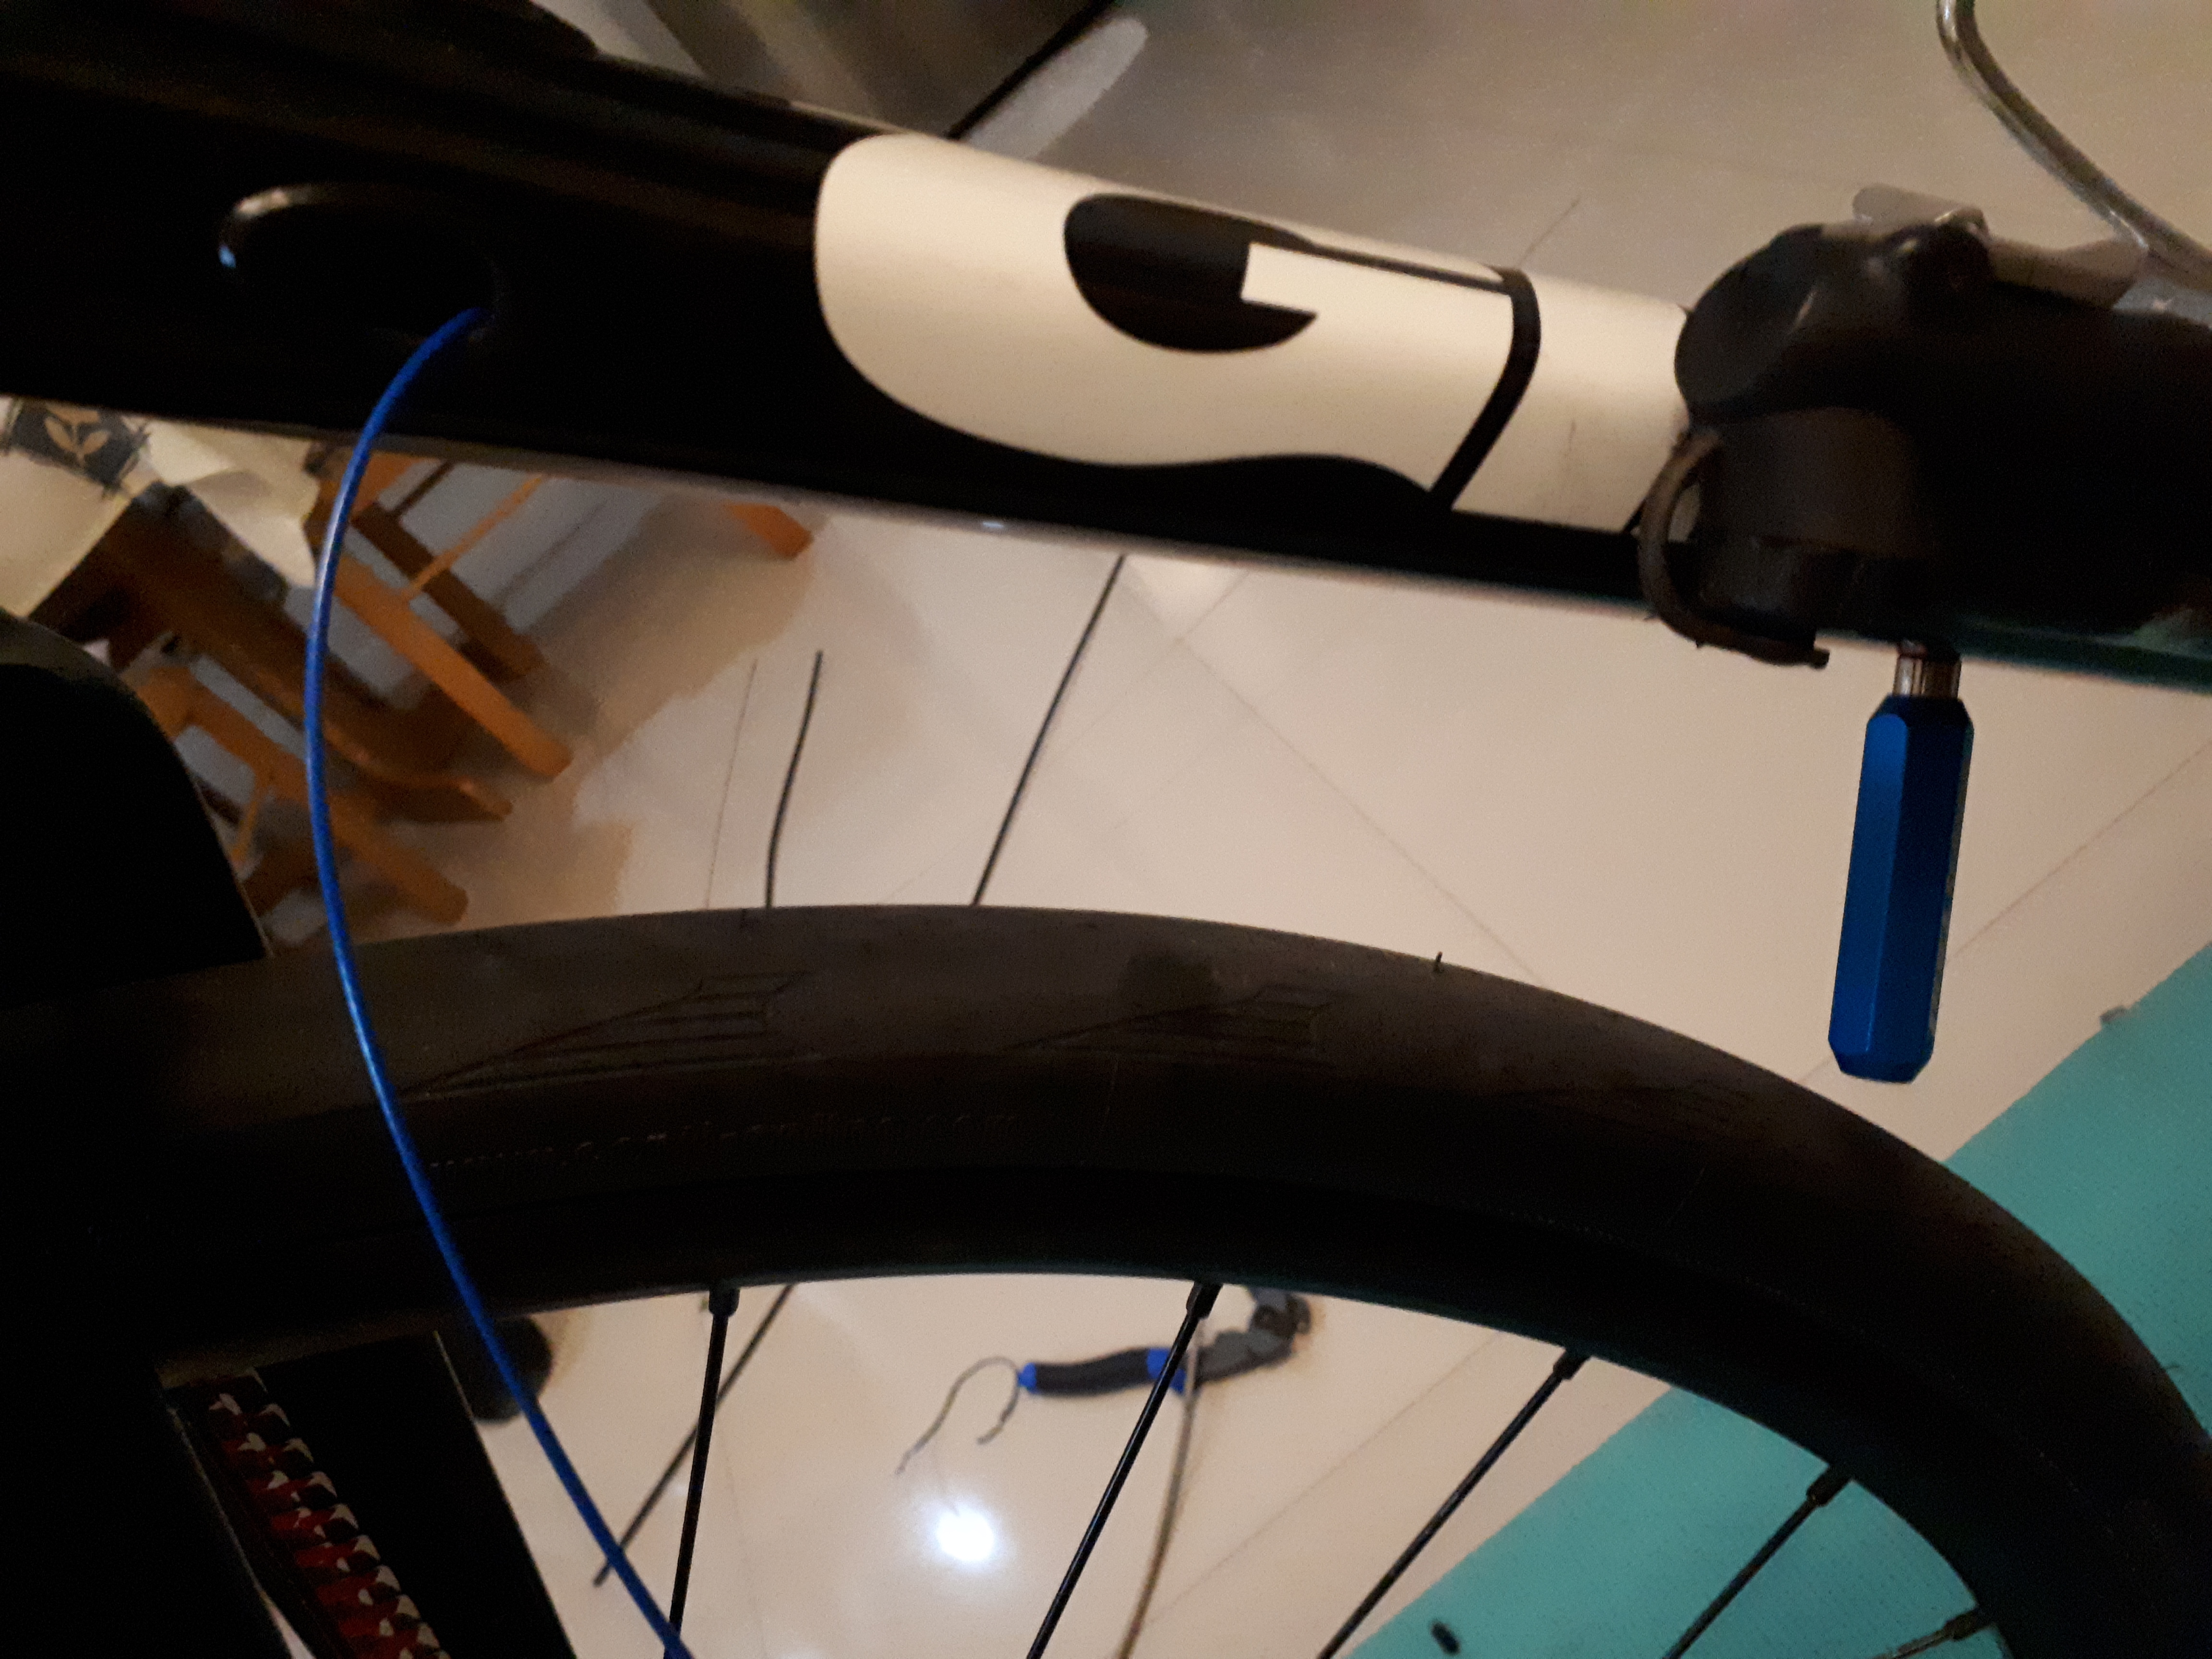
Drop the magnet end of the guide cable into the cable routing hole at the left side of the downtube. Once it’s in, chase it with the guide magnet from the outside of the downtube until it gets attracted.

From there, it’s a matter of feeding the guide cable in and pulling the guide magnet along the outside of the downtube, until it emerges from the cable routing hole.
Pull the guide cable all the way through, and it should drag the new brake cable housing along with it, emerging from the bottom of the downtube. At this point, you can go ahead and thread the housing through the rectangular grommet and reinstall it into the routing hole on the downtube.


Two more routing holes to go, this time through the non-drive side chainstay. The same trick with the guide cable and guide magnet applies here, though. Take your time and be patient.
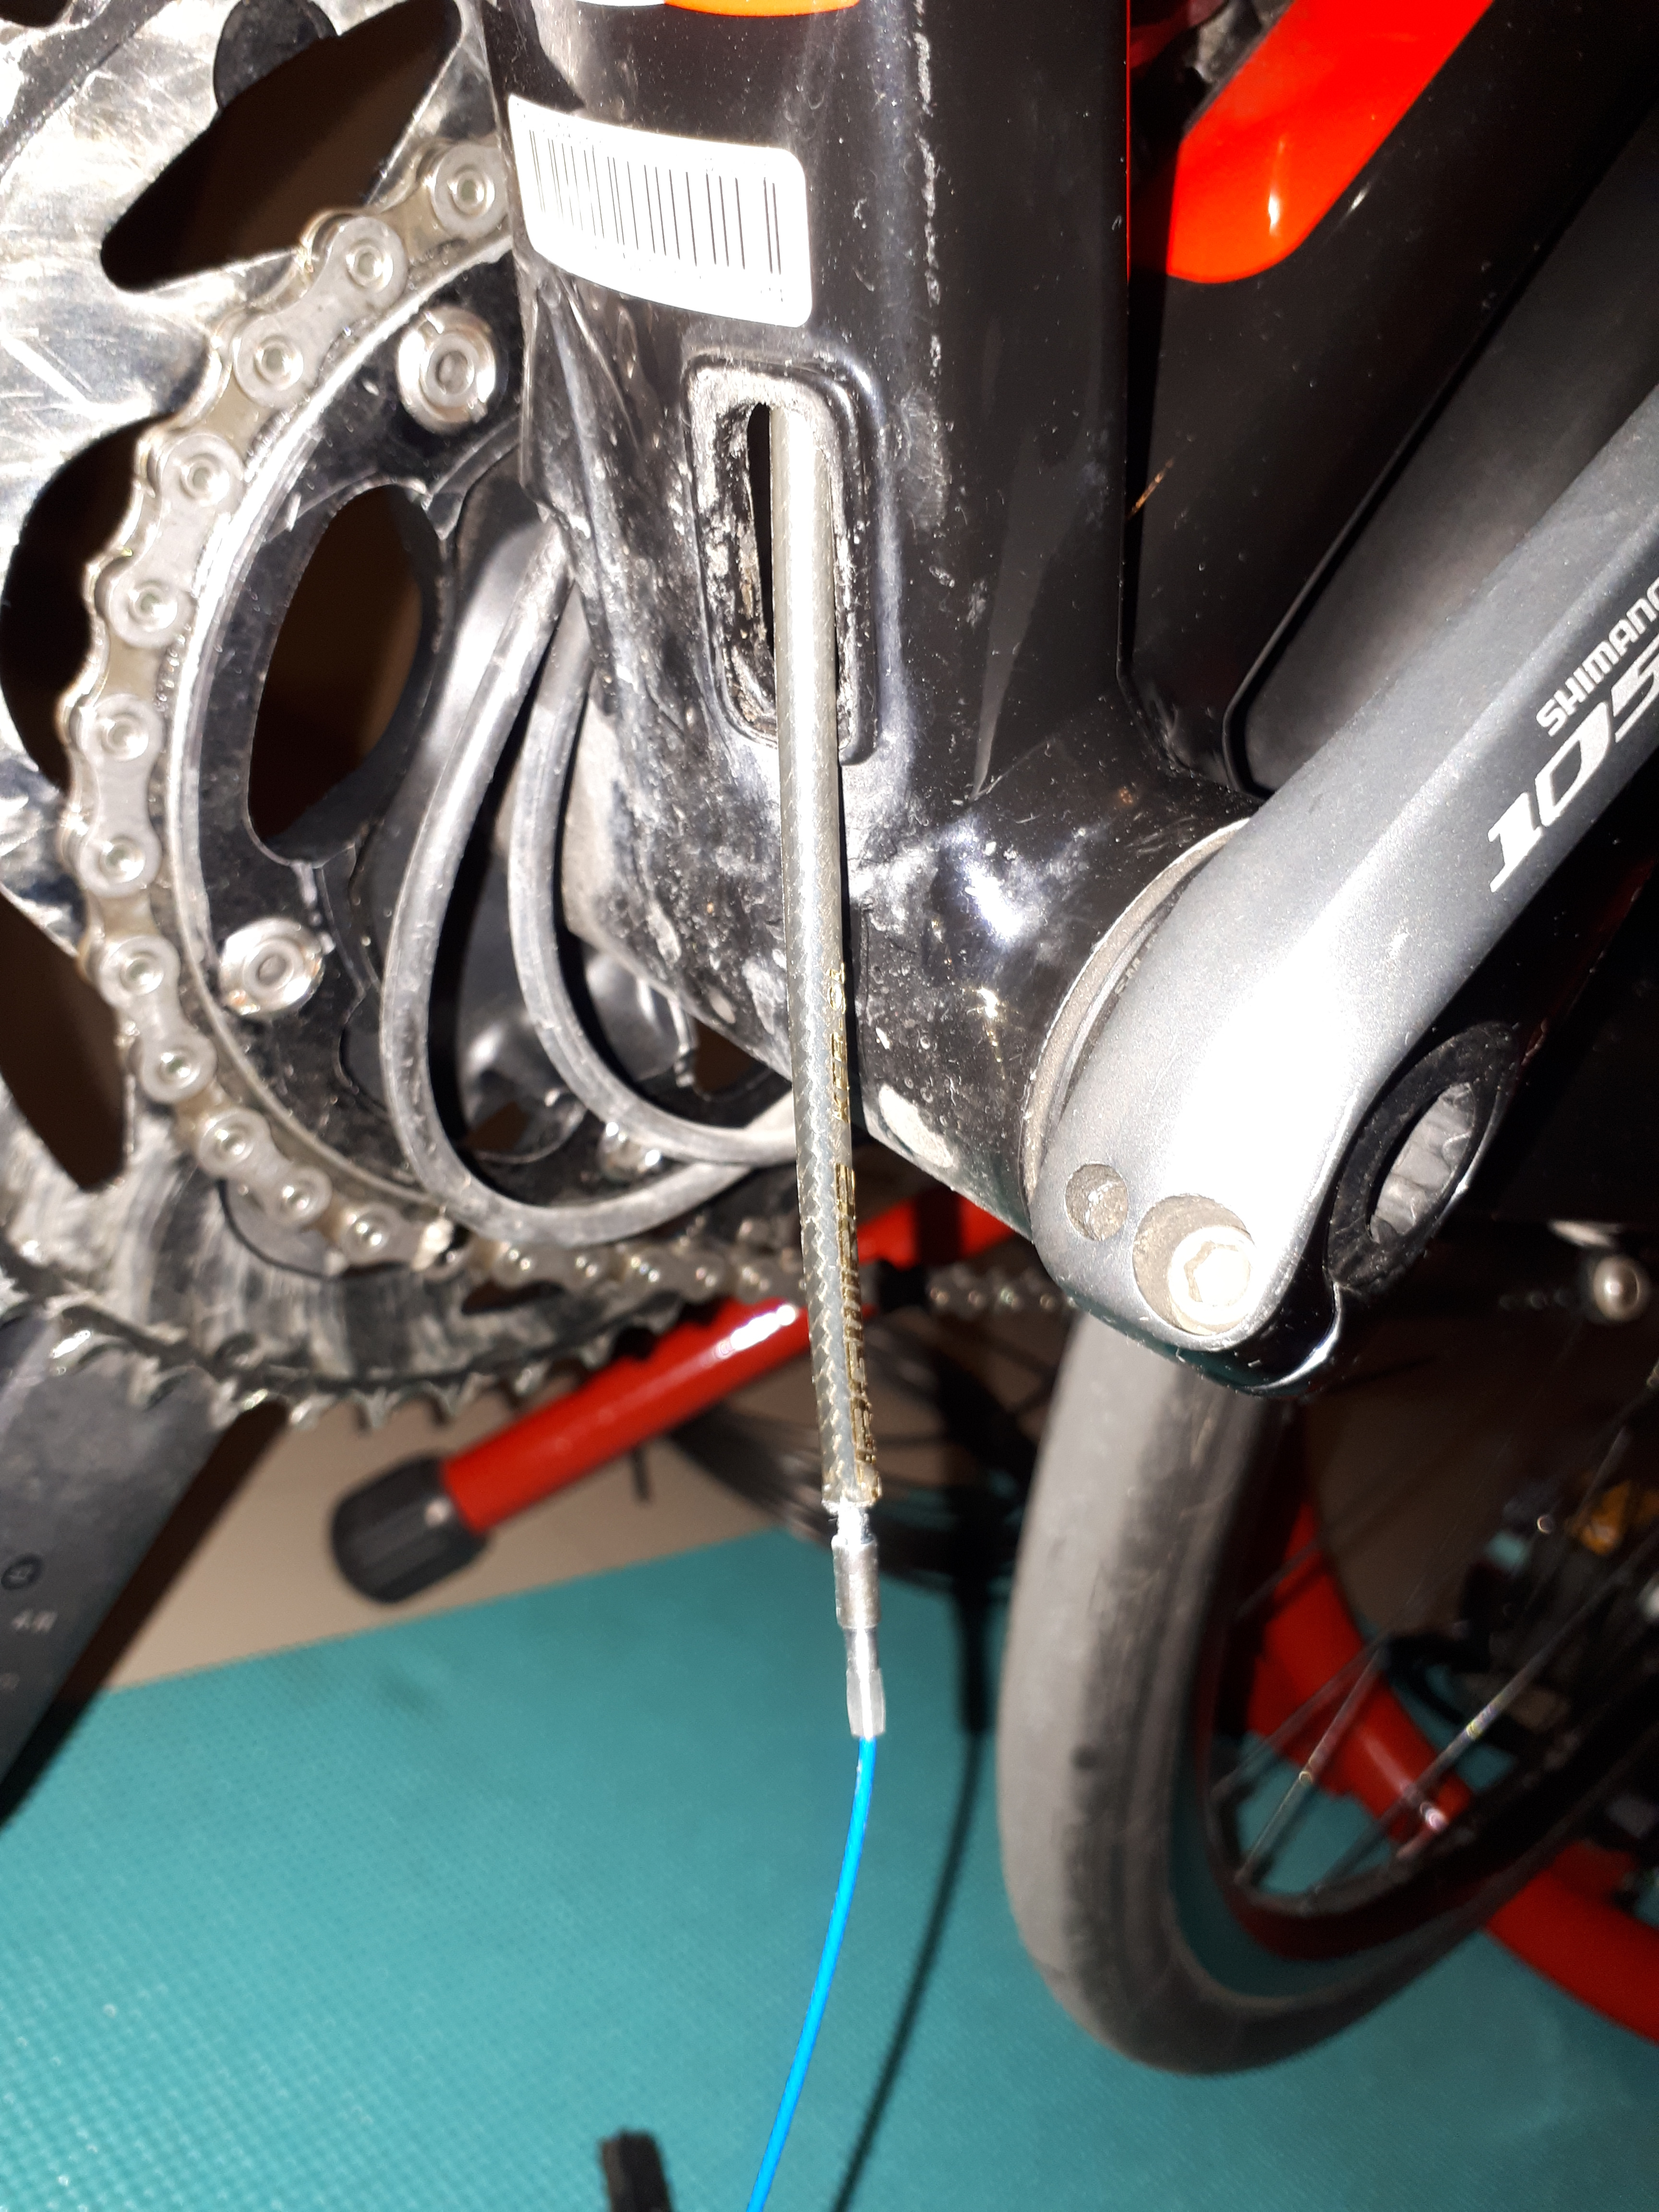
This final cable routing hole is the biggest challenge. The guide cable is very flexible and can clear it with no issues…

…but the much stiffer compressionless brake cable housing will require a bit of persuasion to come out. This is where inserting the threaded barb into the brake housing as far as it will go will help a lot.
Once all the brake housing is correctly routed through the frame, you’re 90% done. Thread the housing through the remaining rectangular grommet, and wrap the housing with the oval grommets and push them into their relevant routing holes.
Connect all the housing segments and barrel adjuster into a continuous line as you push the rear brake inner cable into the STI lever, then hook up the inner cable into the Spyre’s actuation arm. Tune and adjust the cable properly, and that’s job done.
In the final installment, we will look into the shift cable routing.